Do you want to install MAMP on Windows to run your PHP-powered sites/applications on a virtual host (localhost)? You’re in the right place.
In this tutorial, I will guide you step-by-step on how to download MAMP, how to install MAMP on Windows, and how to test your MAMP by creating and running a PHP file on it.
MAMP stands for Macintosh, Apache, MySQL, and PHP. It installs local server (localhost) environment on your Windows and Macintosh operating systems. MAMP offers two versions (1) MAMP (2) MAMP PRO. MAMP is the free version whereas MAMP Pro is the paid version.
Following topics will be covered in this post:
- How to Download & Install MAMP on Windows
- How to Run MAMP on Windows
- How to Create and Test a PHP File on MAMP
01. How to Download & Install MAMP on Windows
In this section, I will guide you step-by-step on how to download MAMP and install it on your Windows.
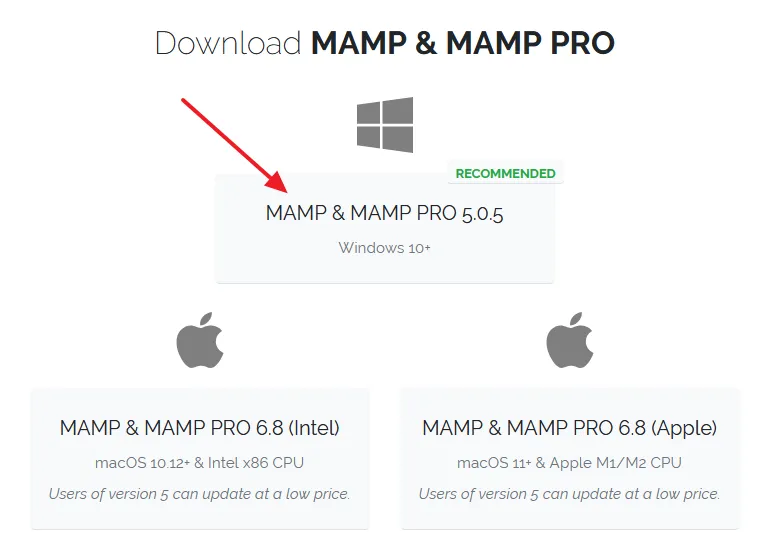
- Go to MAMP Download Page for Windows.
- Click on the Free Download button.

- Click on the MAMP & MAMP PRO Windows 10+. The current version of MAMP is 5.0.5.
- It will be downloaded to your computer.
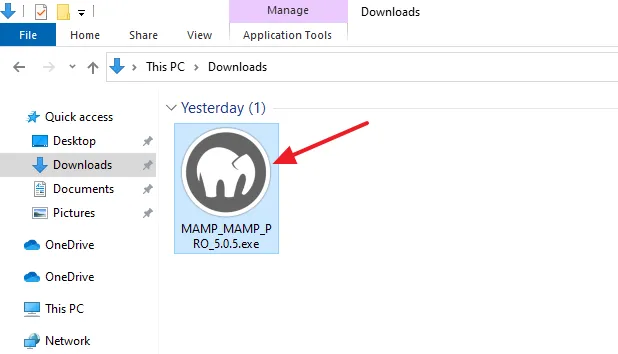
- Open the Downloads folder on your Windows and click on the MAMP Setup to begin the installation.
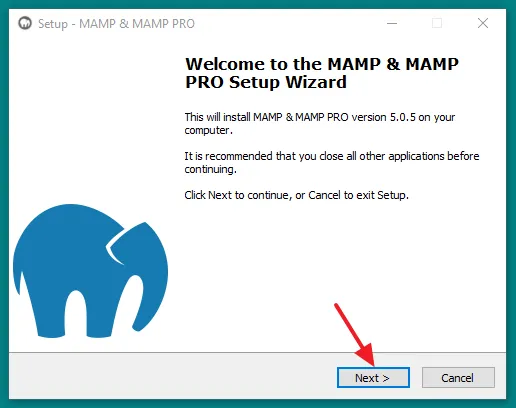
- MAMP installer recommends you to close all other applications before continuing.
- Click on the Next button.
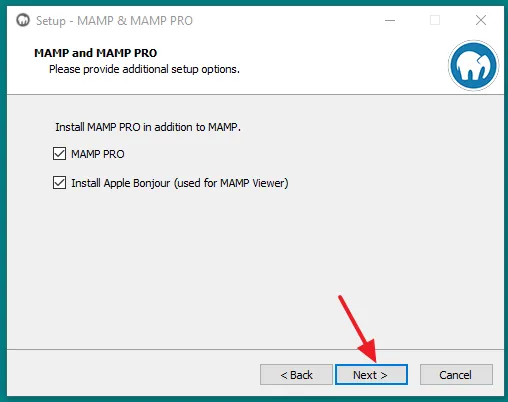
- Here the Installer is asking you whether you want to install MAMP PRO and Apple Bonjour, in addition to MAMP free version. Check their boxes if you want to install them.
- Click on the Next button.
- Check, I accept the agreement.
- Click on the Next button.
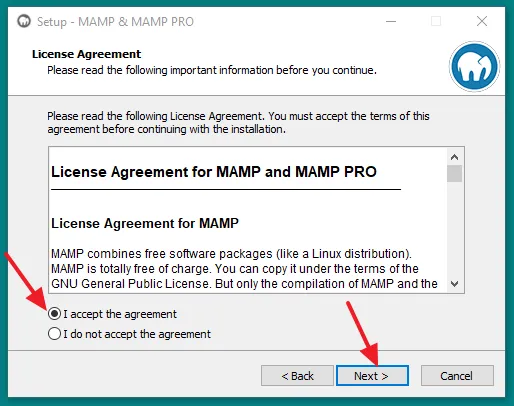
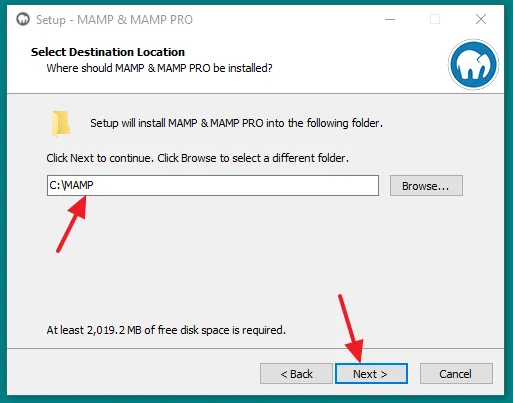
- Select the Location where MAMP will be installed. By default, it chooses the C:/ drive. It will be installed on your chosen drive in the MAMP folder.
- Click on the Next button.
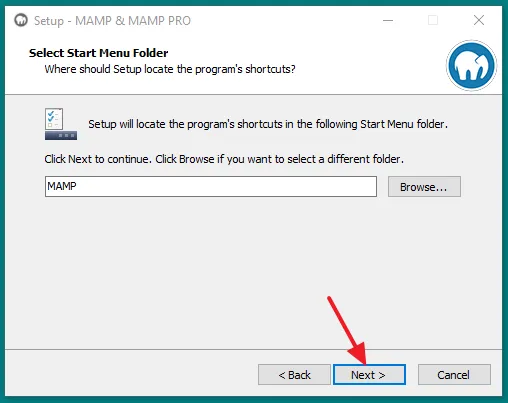
- It is asking you, where should setup locate the program’s shortcuts. Enter MAMP.
- Click on the Next button.
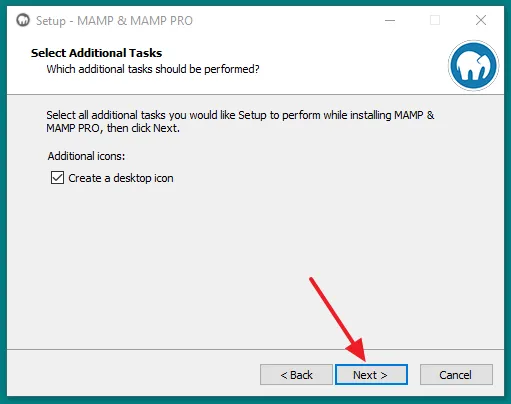
- Check the Create a desktop icon.
- Click on the Next button.
- Setup is ready to install MAMP on your computer. Click on Install button.
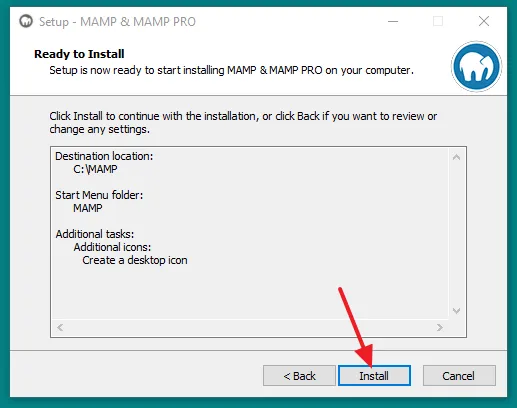
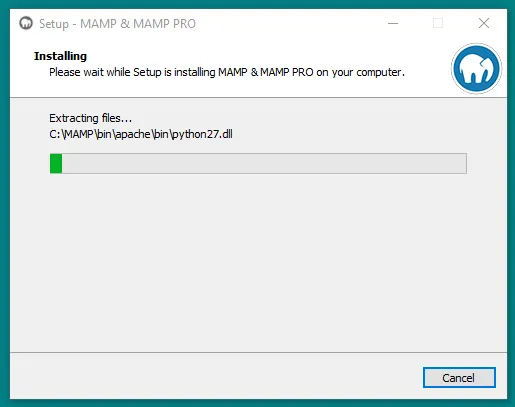
- It may take 5 to 10 minutes to complete the installation of MAMP, so be patient while it completes.
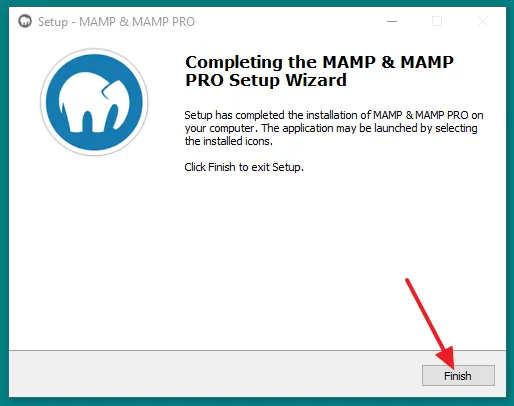
- MAMP has been successfully installed on Windows. Click on the Finish button.
02. How to Run MAMP Server on Windows
The installation of MAMP is completed, now it is time to run your MAMP server on Windows.
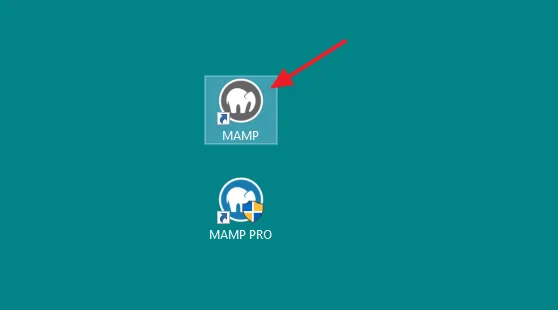
- Click on the MAMP shortcut.
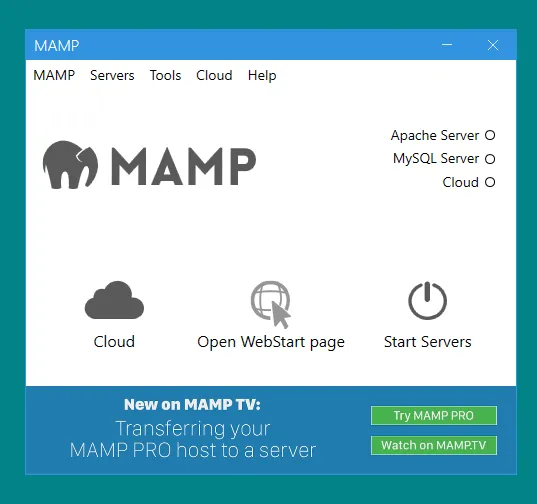
- This is the MAMP Control Panel. You can see here that the signals of Apache Server and MySQL Server are white, means they are not started yet. Windows Defender Firewall has blocked some of the features of Apache Server and MySQL Server.
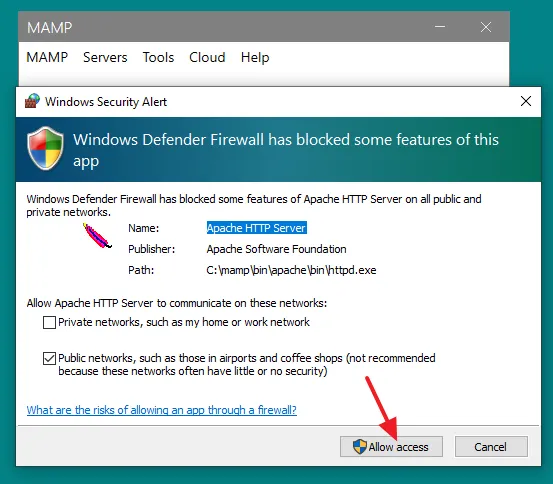
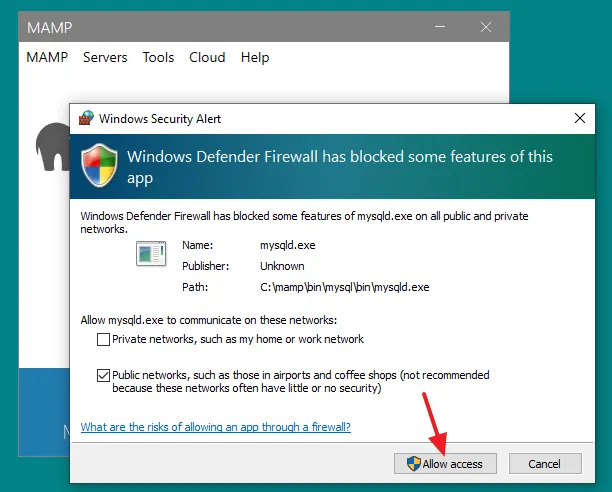
- Windows Security Alert will prompt you for the permission whether to give them access or not, as shown in the next step.
- Click on the Allow access button to give access to Apache Server Module.
- Click on the Allow access button to give access to MySQL Server.
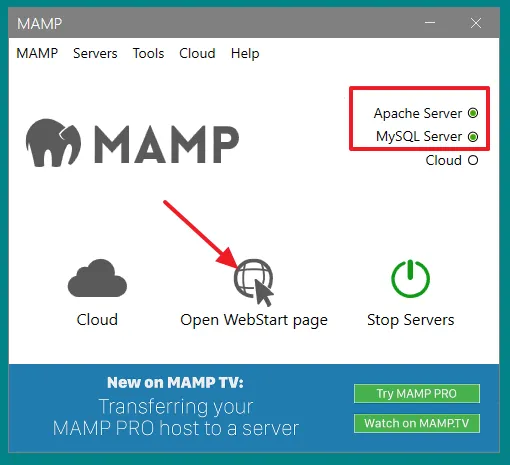
- Now you can see that the signals of Apache Server and MySQL Server are green, means they are running. You can Start/Stop MAMP server using the button Stop Servers and Start Servers.
- You can change Ports, PHP version, Server type, and Cloud options on MAMP Control Panel from MAMP => Preferences.
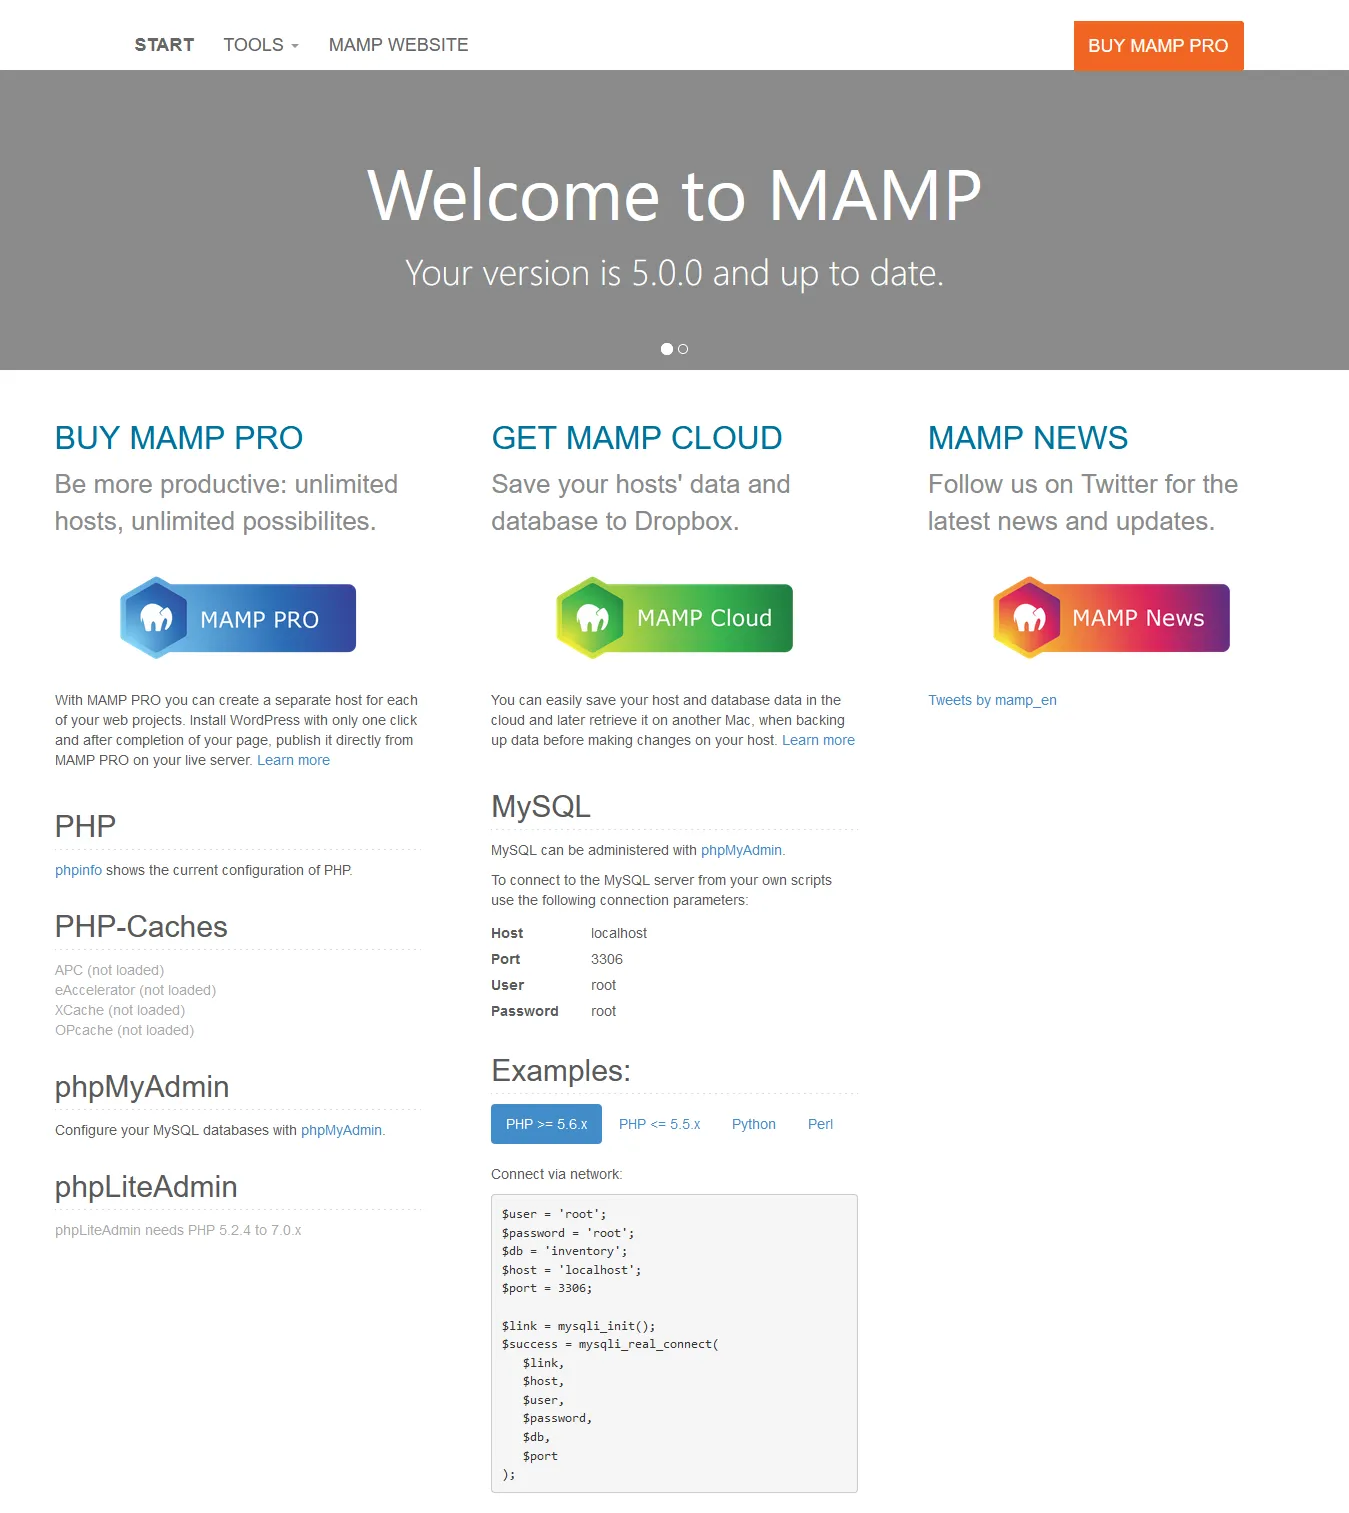
- Click on the Open Webstart page to open the Dashboard of MAMP on browser.
This is the Dashboard of MAMP. If your MAMP server is not setup properly this page won’t be opened. It shows the version of your MAMP Server and also tells you whether it is updated or not. You can open phpMyAdmin (My SQL Database) and PHP Info, that shows the current configuration of PHP.
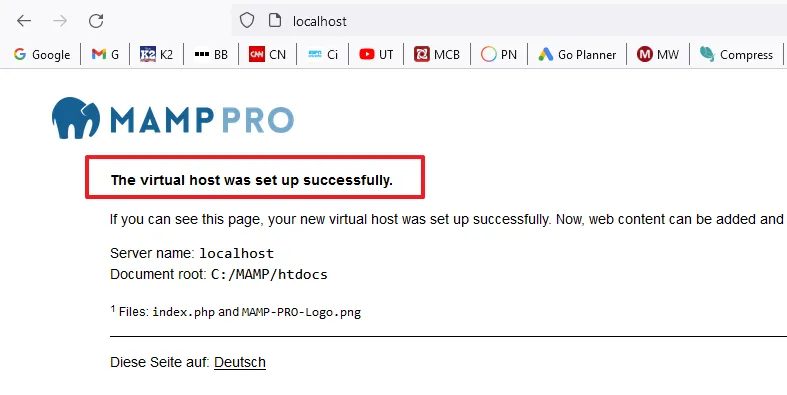
- Type localhost on browser, another way to test your MAMP Server. You can see here that it is showing you the message, “The virtual host was set up successfully.“.
03. How to Create and Test a PHP File on MAMP
The MAMP localhost is running on your Windows. Now let’s create a PHP file and run it on your localhost.
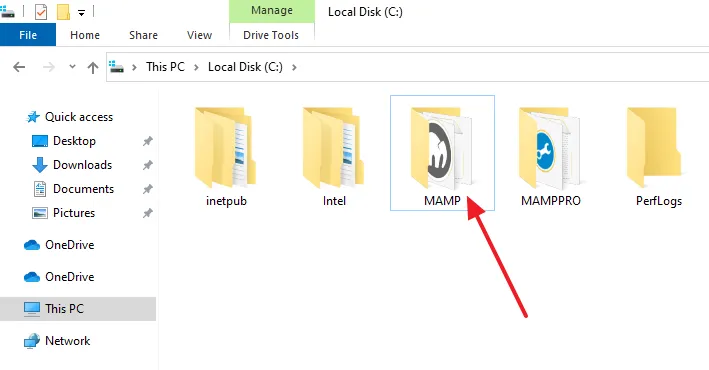
- Open the MAMP folder.
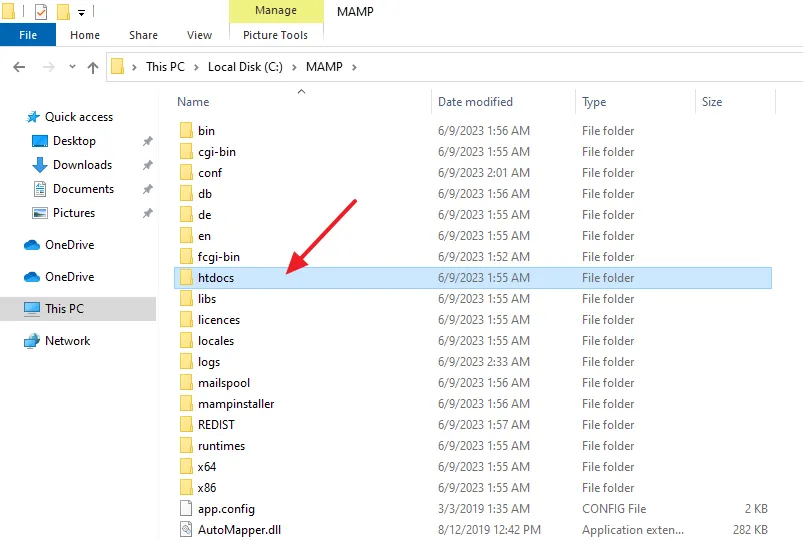
- Open the htdocs directory. It is the root directory of MAMP Server where you store/place your site’s data which is to be run on localhost.
- Create a new folder test.
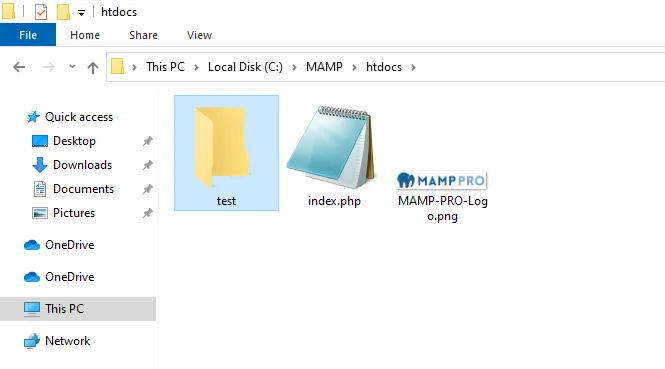
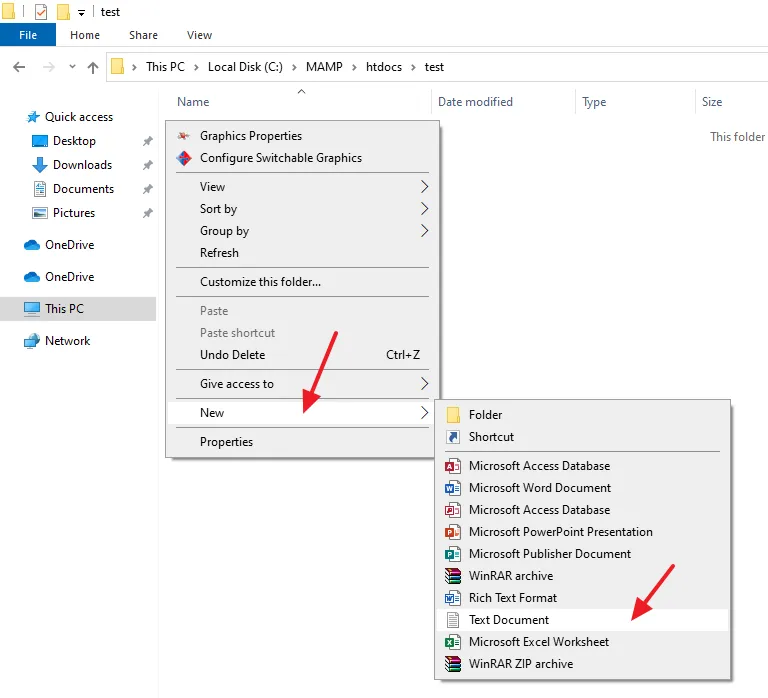
- Right-click on the white space, go to New, and click on the Text Document.
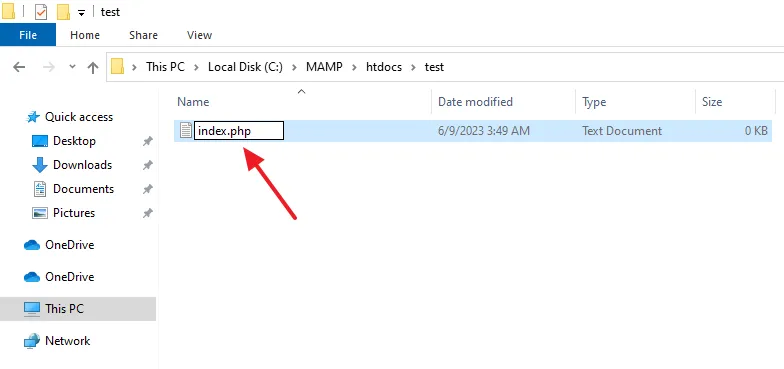
- Rename the text file to index and replace .txt with the .php file extension.
- Now Paste this code in the file and Save.
<!DOCTYPE html>
<html>
<body>

<h1>MAMP Installation in Windows</h1>

<?php
echo "I have successfully installed MAMP in Windows. Thanks Meer's World!";
?>

</body>
</html> 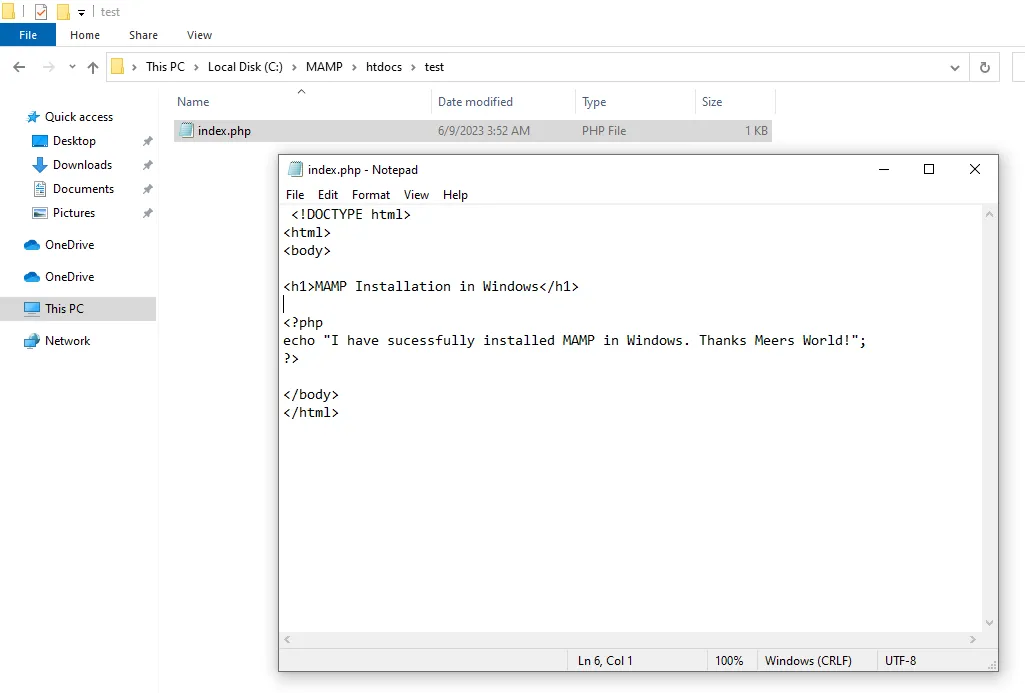
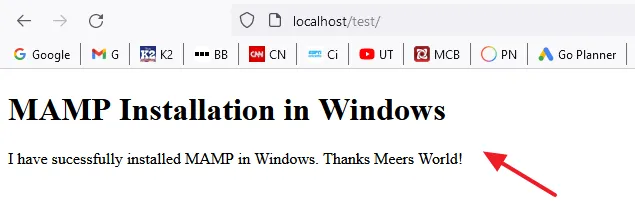
- Browser the test folder on localhost like this: http://localhost/test. You can see that the PHP code in the index.php file has been executed successfully.
If you like this post don’t forget to share this post with other people. Share your feedback in the comments section below.
Also Read
- How To Install & Configure XAMPP On Windows 10 – Step By Step | For Beginners
- How To Change The XAMPP Server Port In Windows 10 | XAMPP Apache Server Port | Fix Apache Port Error
- How To Install WordPress On MAMP Server In Windows 10 – Step By Step | Install WordPress On Localhost
- How To Install EasyPHP Devserver On Windows 10 – Step By Step | Show Databases On phpMyAdmin In EasyPHP


Leave a Reply