Do you want to know how to change or upload a favicon in Blogger? You’re in the right place.
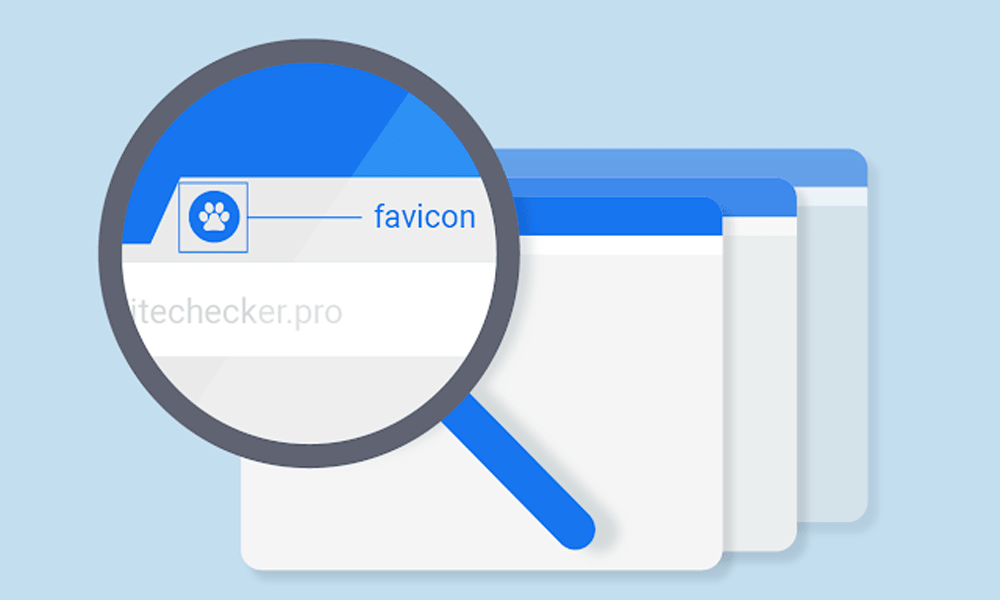
A favicon is a small icon of 16 x 16 pixels associated with a website and all its pages which is placed at top-left corner of your browser’s Title bar.
There are two benefits of favicon (1) It acts as a mini logo for your website (2) It uniquely identifies your website & its pages when they are opened on browser tabs.
RELATED
- How to Set Up Blogger Settings | A to Z
- How to Make a Free Circular, Rounded, & Square Favicon Online
- Solved: Favicon Doesn’t Appear On Bing Search Results
How to Upload/Change a Favicon on Blogger
Follow the steps to change/upload the favicon in Blogger:
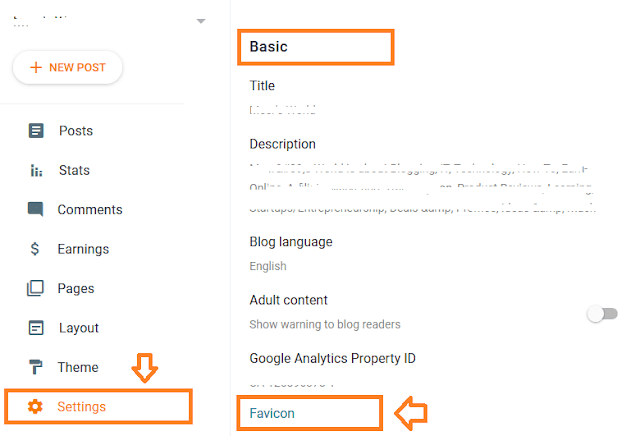
- Go to your Blogger Dashboard.
- Click Settings from the Sidebar.
- Under the “Basic” section, click on the “Favicon” link.

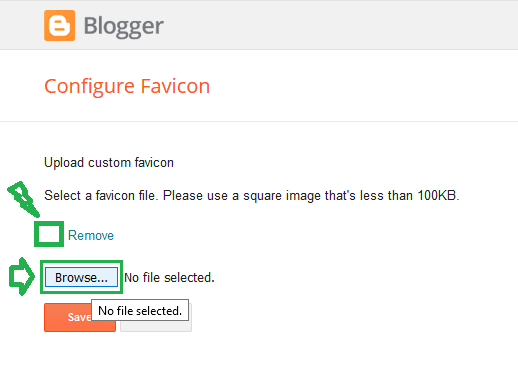
- Click the Browse… button to upload your favicon image. Favicon could be PNG or .ICO file.
- Your existing favicon or new favicon will be shown beside the “Remove” link, as we have shown that place by a green box.
- Once you upload click Save.

Now open your website and refresh the browser or press CTRL + F5. If you don’t see favicon after refresh then clear the cache and history of your browser.
You must have learned about changing or uploading a favicon in Blogger. If you like this post then don’t forget to share with people. Share your feedback in the comments section below.


Leave a Reply