Do you want to change or upload the user account picture on Windows 10? You’re in the right place. In this tutorial, I will guide you step-by-step on how to do.
The user account picture appears on Windows 10 login screen. If there are more than one Windows 10 users the account picture helps you to quickly identify your account. Do remember that if you don’t have a licensed Windows 10 you might not be able to change the user account picture, but at least give a try, you never know it may work.
How to Change User Account Picture on Windows 10
Follow the steps to change or upload the user account photo on Windows 10.
- Click on the Windows icon located at the bottom-left corner of your desktop screen.
- Hover the mouse over the Profile icon.
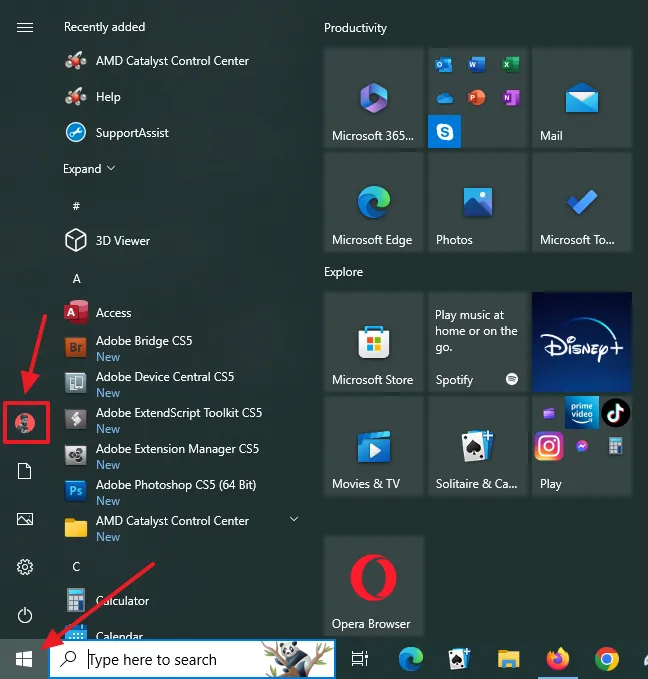
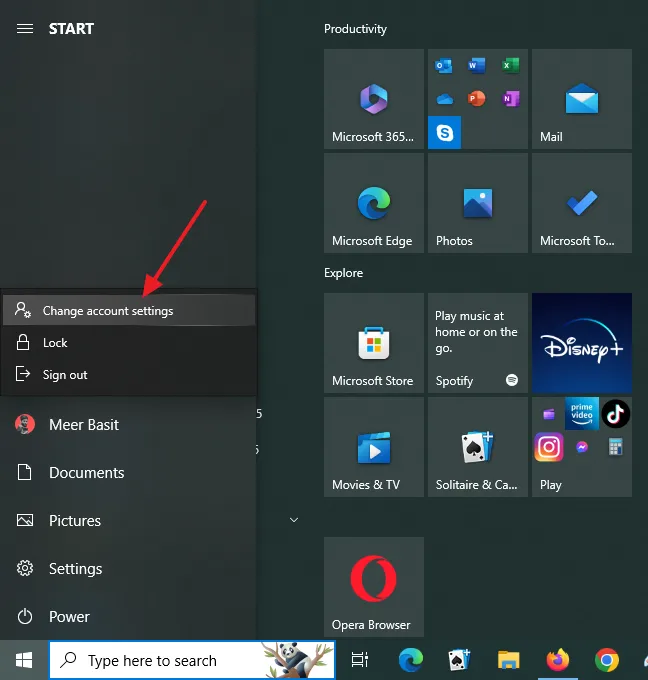
- Click on your Profile Icon. You will see three options i.e. Change account settings, Lock, and Sign Out.
- Click on the Change account settings.
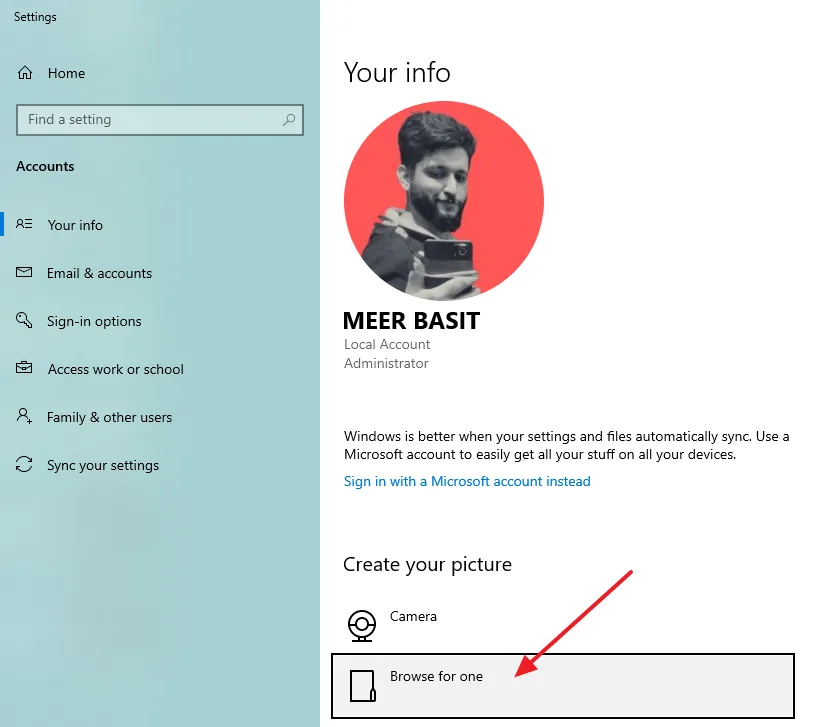
There are two options.
- If you want to capture picture from your laptop camera click on the Camera option.
- If you want to upload file from computer, click on the Browse for one option.
You can see the Preview of your account picture on top of the page under the Your info.
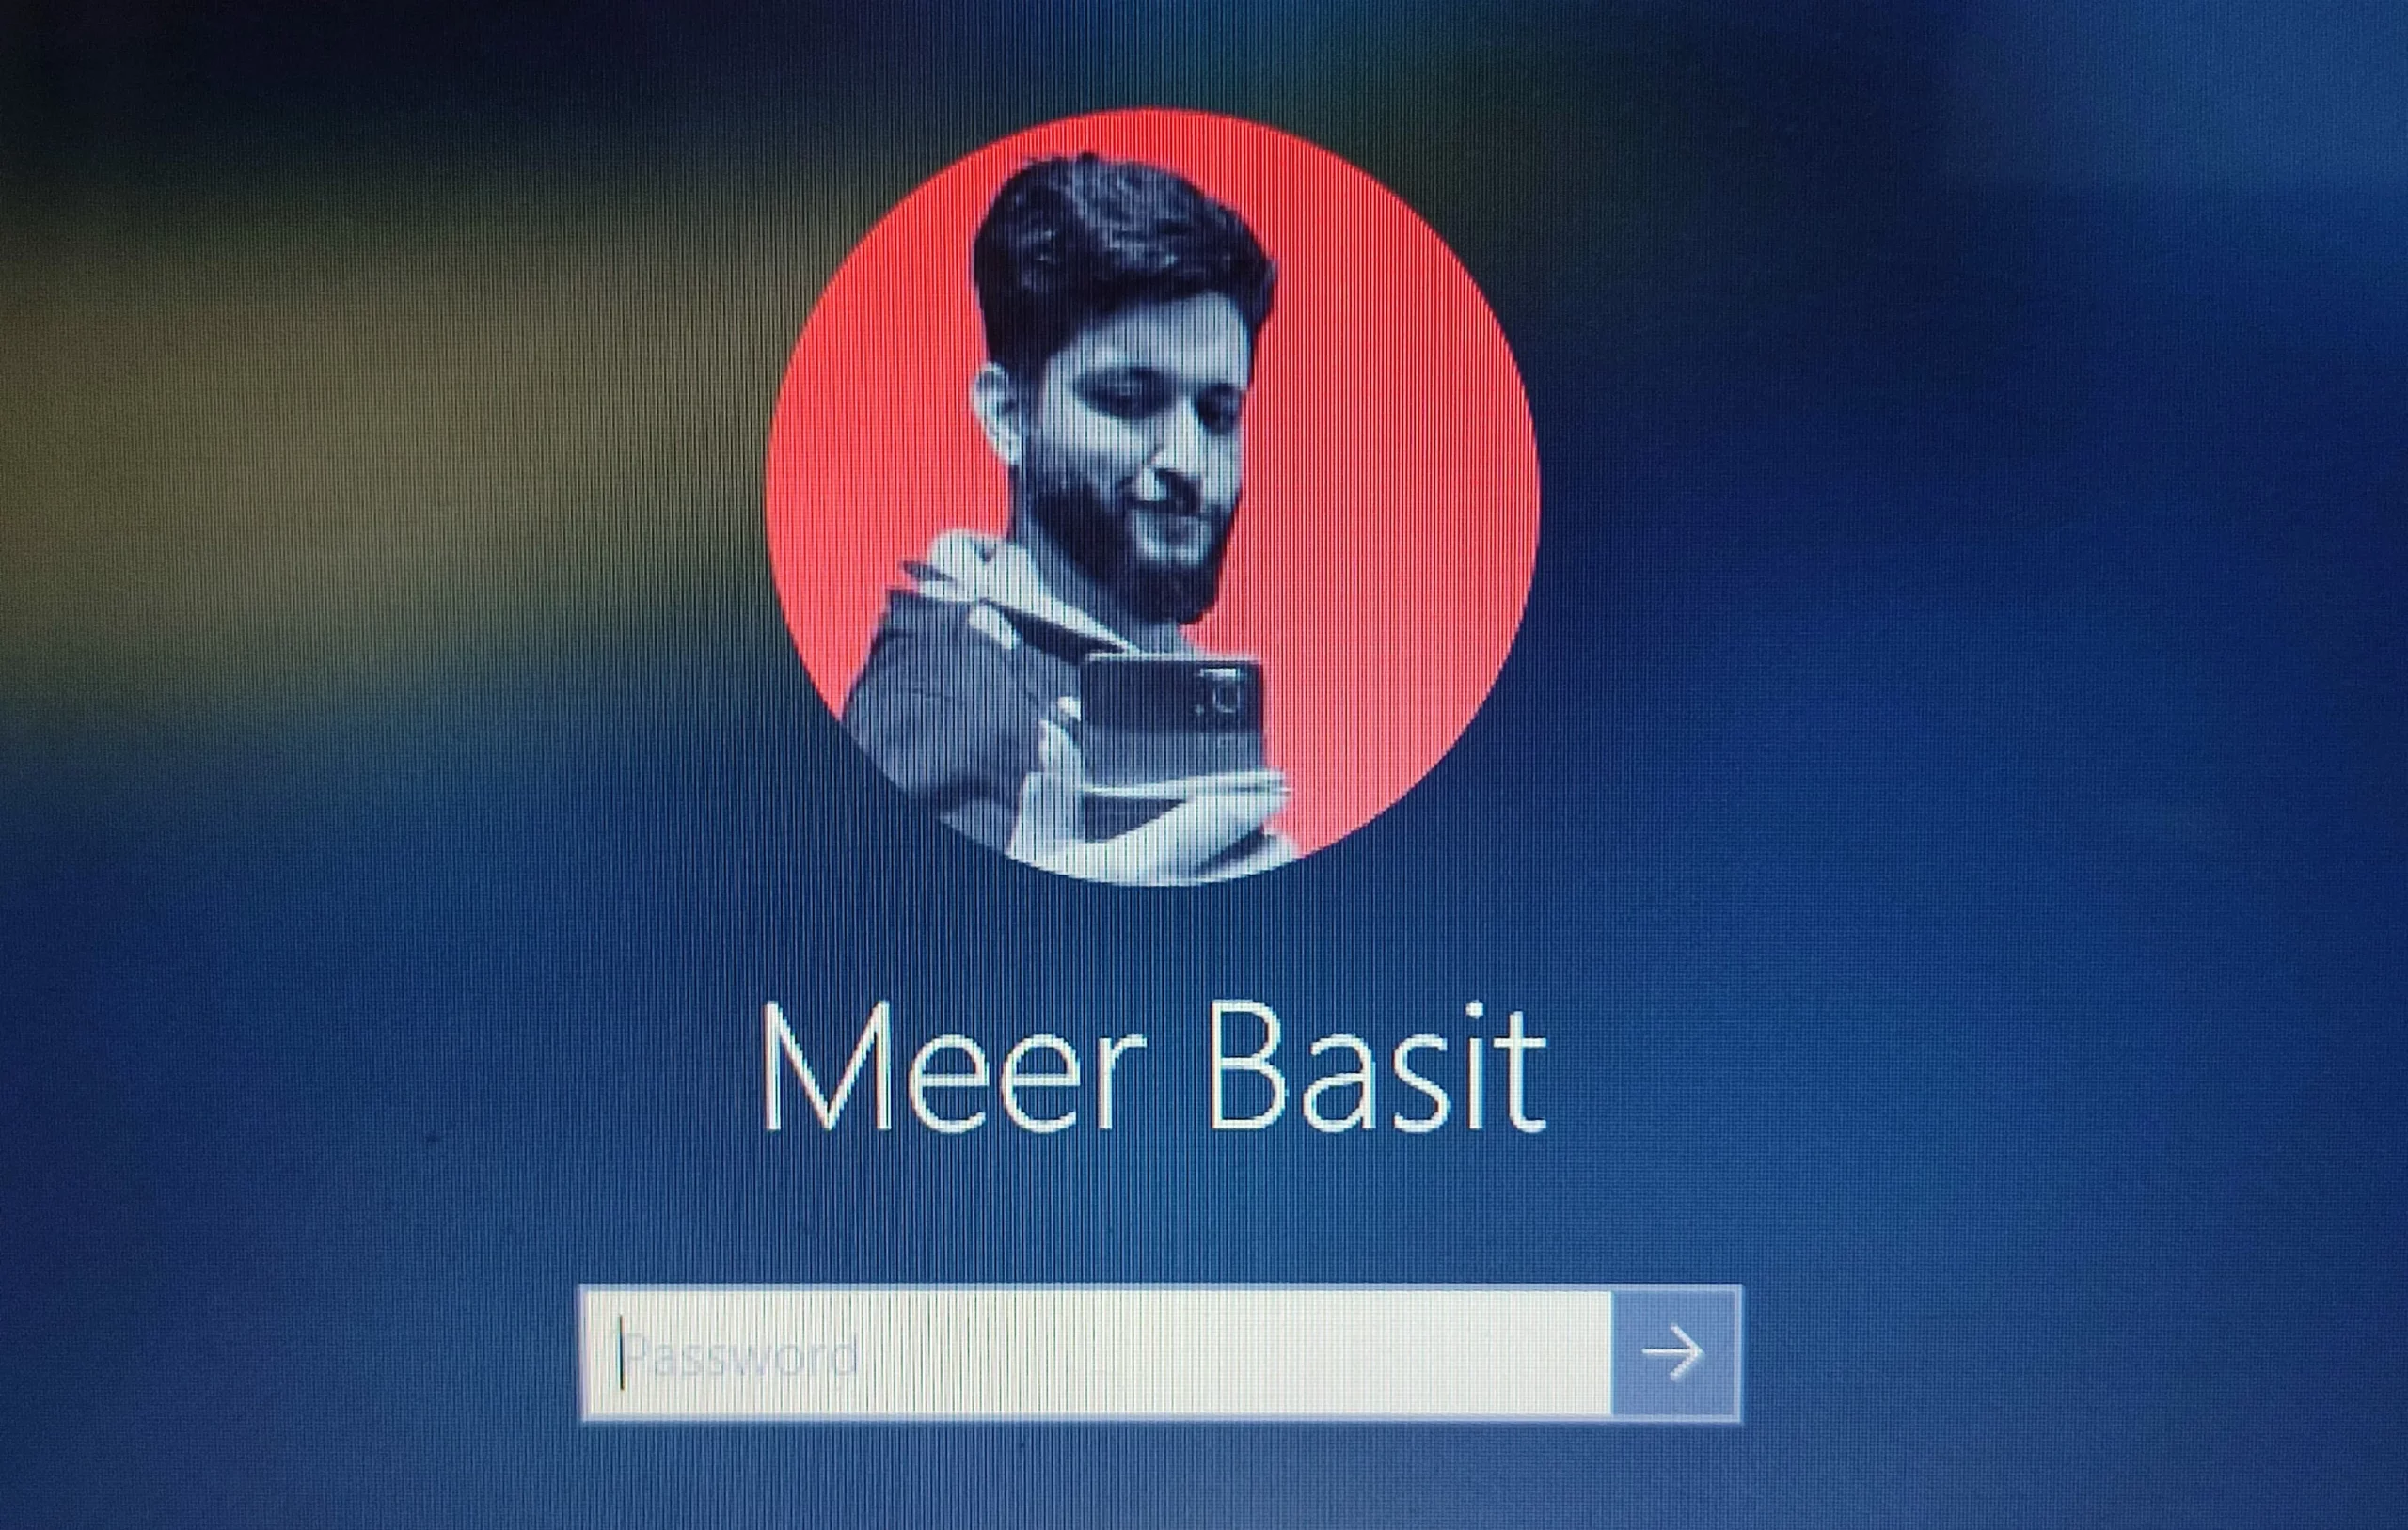
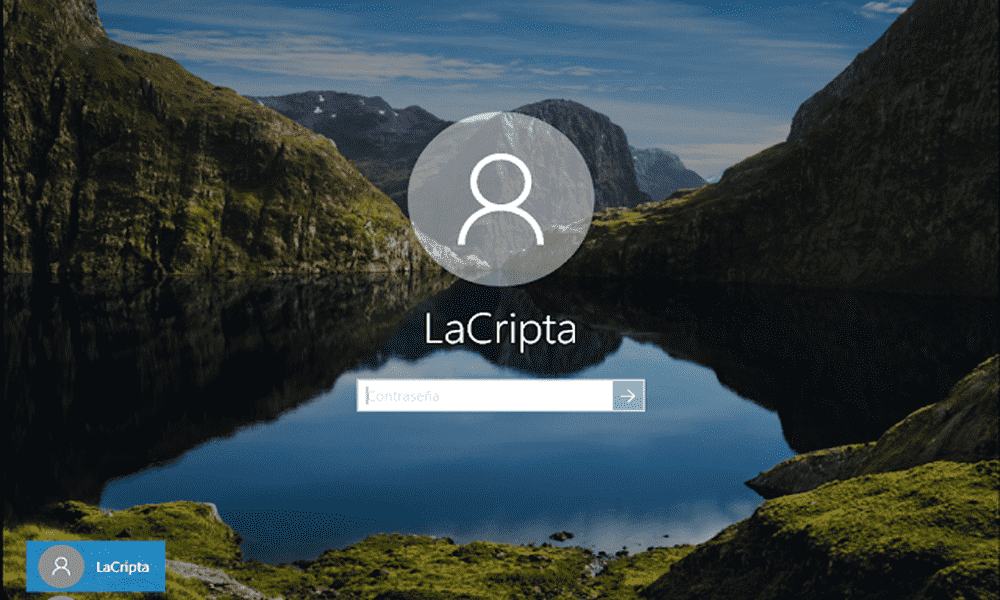
- Press Windows Button + L to lock your Windows 10. You can view how your account picture looks like on the login screen of Windows 10.
If you like this post then don’t forget to share this post with other people. Share your feedback in the comments section below.
Also Read
- How To Reset/Change The Admin Password In Windows 10
- How To Defragment Hard Disk In Windows 10 | Improve Computer Efficiency
- How To Run Disk Cleanup On Windows 10? | Free Up Hard Disk Space
- How To Shrink A Volume Or Partition In Windows 10 | How To Do Partitioning
- How To Find Bluetooth Received Files on Windows 10
- How to Use Text to Speech Feature on Windows 10 | TTS
- How to Show or Hide People Bar on Windows 10



Leave a Reply