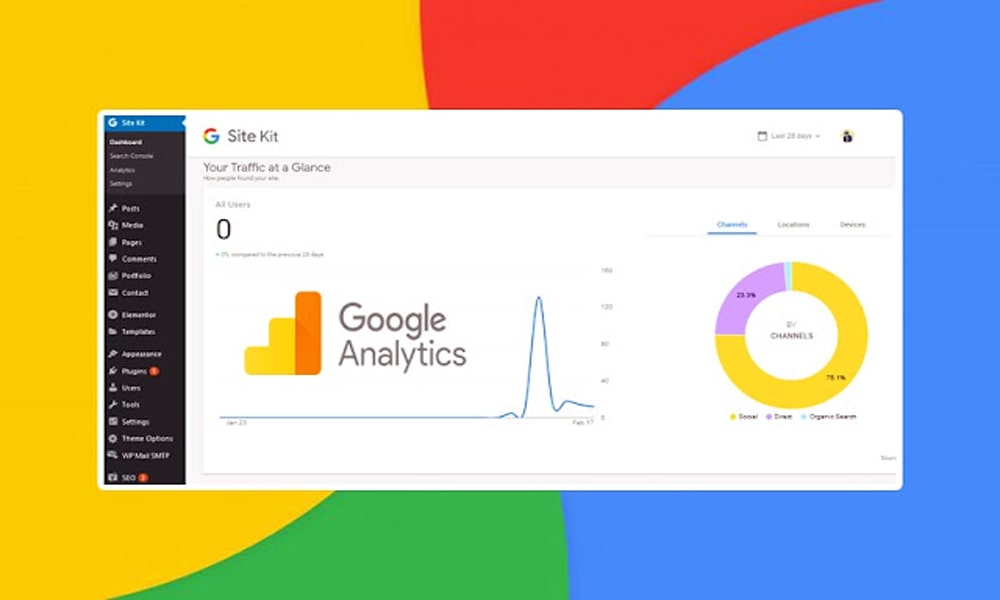
Do you want to show Google analytics in your WordPress dashboard? Don’t worry, you’re in the right place. In this tutorial, I will guide you step-by-step on How to show Google analytics in your WordPress Dashboard using Site Kit by Google plugin.
Unlike Blogger, WordPress doesn’t show you the traffic stats and analytics of your website.
Though there are many WordPress plugins that you can use to show Google analytics, like, MonsterInsights, Exact Metrics, etc, but they are not completely free.
The Site Kit By Google is a free and secure WordPress plugin that connects your website to Google Search Console, Google Analytics, and Google PageSpeed Insights in order to show Google analytics & Core Web Vitals metrics of your website directly in your WordPress Admin Dashboard. You can also connect other services such as Google AdSense, Optimize (For Creating A/B Tests) and Tag Manager.
Following topics will be covered in this tutorial.
- How to Link Website to Google Search Console & Analytics
- How To Set Up Site Kit By Google Plugin in WordPress
- How To Set Up Google AdSense in Site Kit by Google
01. How to Link Website to Google Search Console & Analytics
In this section, I will guide you on how to link your WordPress website to Google Search Console and Google Analytics 4 account.
If your website is already linked to Google Search Console and Google Analytics 4, then go to Section 2 (How To Set Up Site Kit By Google Plugin in WordPress).
Note: Link your website to Google Search Console and Google Analytics on same Gmail ID. For example, If I sign-up for Google Search Console with “example@gmail.com”, I will use the same Gmail ID “example@gmail.com” for Google Analytics sign-up.
Google Search Console
Follow this tutorial to connect your WordPress website to Google Search Console:
Google Analytics 4
Follow this tutorial to connect your WordPress website to Google Analytics 4:
02. How to Set Up Site Kit by Google Plugin in WordPress
In this section, I will guide you on how to set up Site Kit by Google plugin in WordPress.
- Login to your WordPress Admin section.
- Go to Plugins from the sidebar and click Add New.

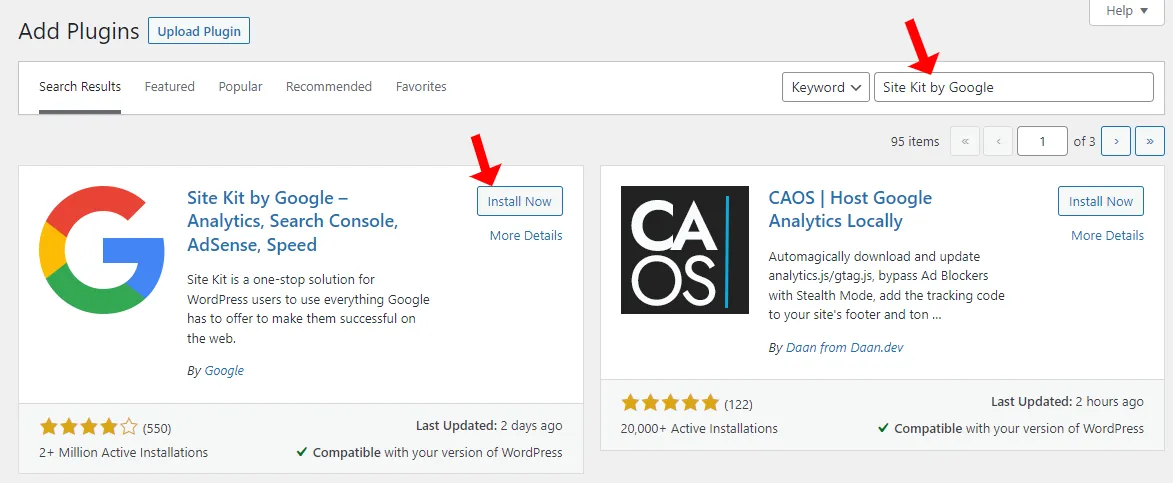
- In the plugins Search Bar type “Site Kit by Google“. It will be listed in the search results below.
- Click the Install Now button to begin the Installation.
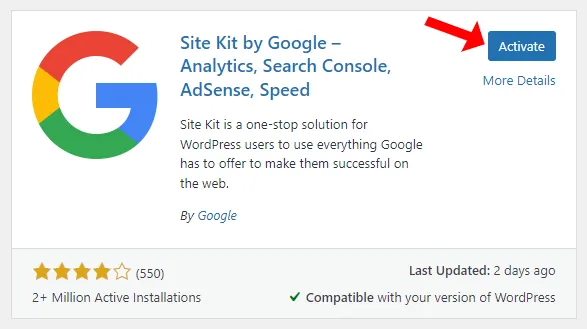
- Once the Site Kit by Google plugin is installed, click the Activate button.
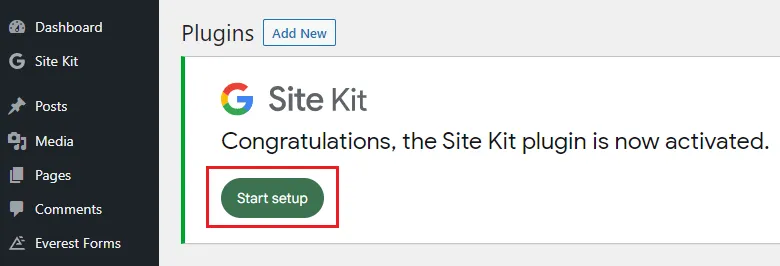
- You will see a message, “Congratulations, the Site Kit plugin is now activated“. The Site Kit also appears in the sidebar just below the Dashboard tab.
- Click the Start setup button.
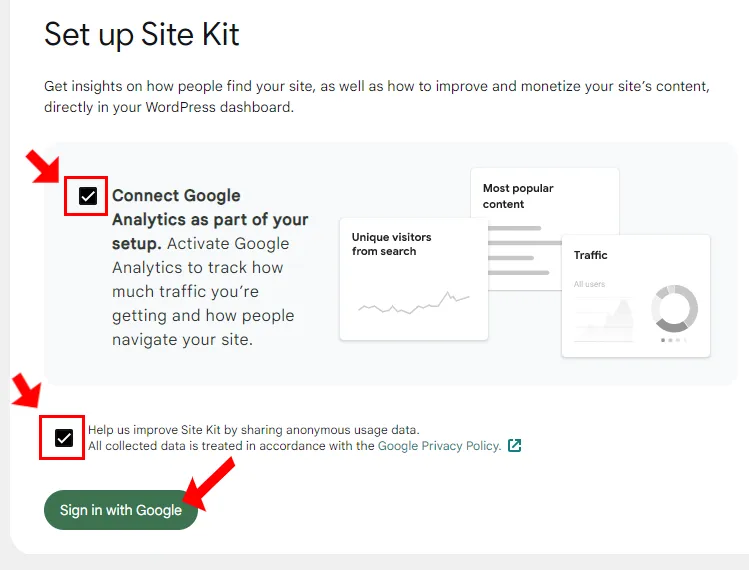
Set Up Site Kit by Google.
- Tick the Connect Google Analytics as part of your setup….
- Also Tick the Help us improve the Site Kit by sharing anonymous usage data. All collected….
- Click the Sign in with Google button. It will redirect you to Gmail Sign In page, a shown in the next step.
- Sign-in with the Gmail account through which you had linked your website to Google Analytics 4.
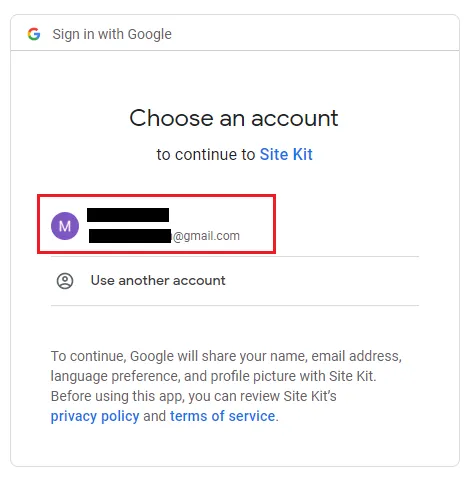
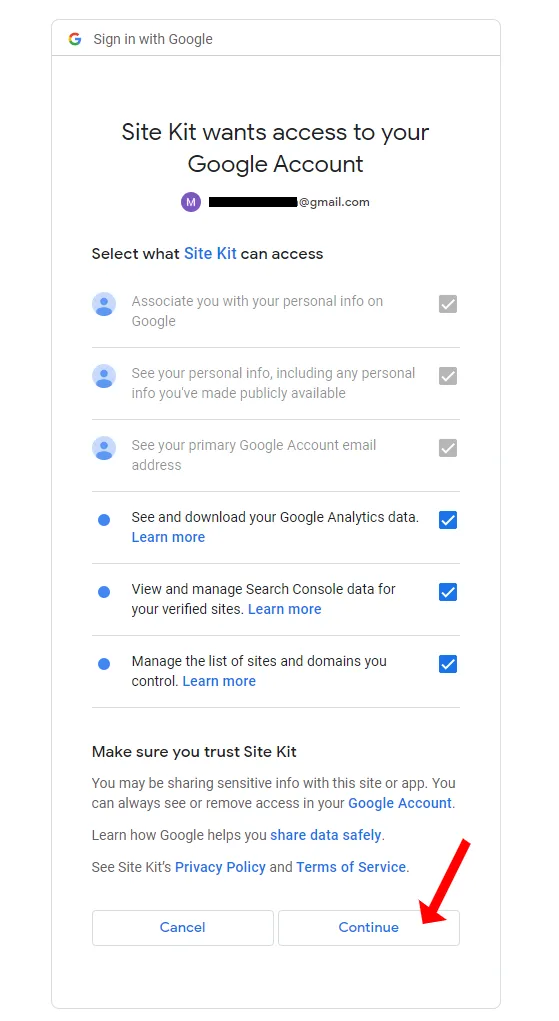
- Gmail will ask you for a permission in order to allow Sit Kit’s access to your Gmail (Google) account.
- Tick all the Options.
- Click the Continue button.
- Google will verify your ownership. If it verifies, it will display You’re already verified.
- Click Next button.

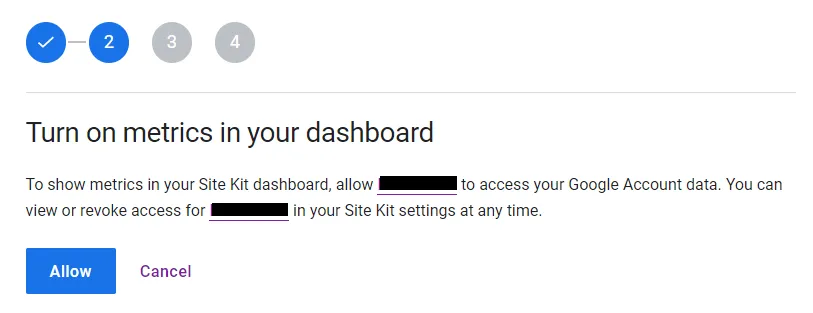
- Click Allow to turn on metrics in your dashboard. This will show metrics in your Site Kit dashboard.
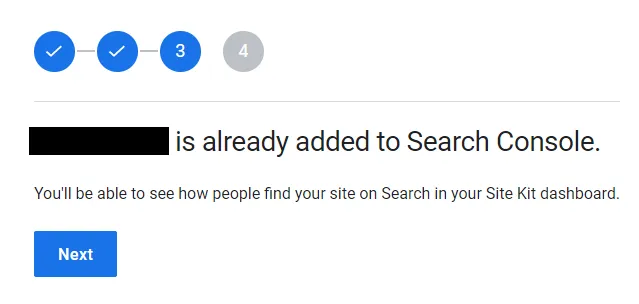
- Since I have already linked the website to Google Search Console, so it is showing here that website is already added to Search Console.
- Click the Next button.
- Google Search Console is added, now Set up Google Analytics.
- Click the Next button.
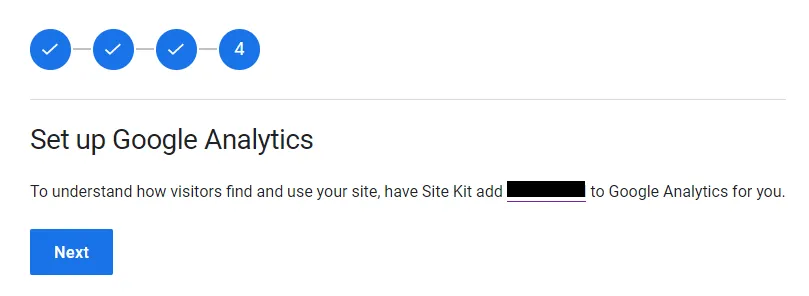
- Click the Configure Analytics button to connect your Google Analytics account in Site Kit.
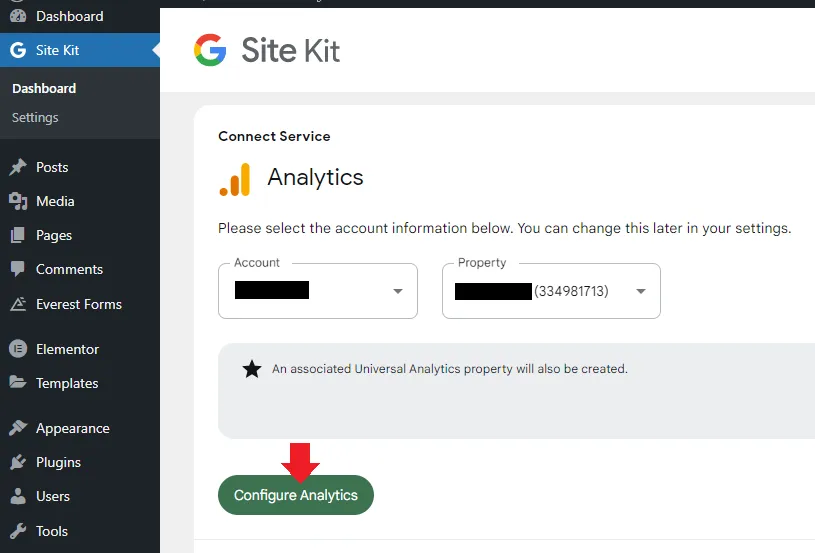
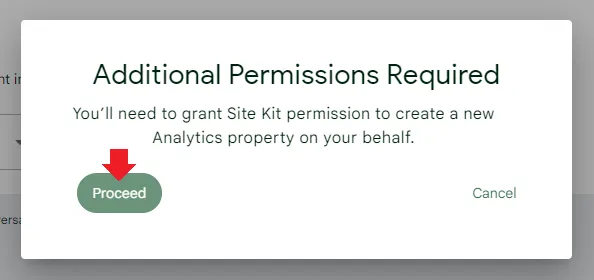
- Click the Proceed button to provide Additional Permissions to Site Kit in order to create a new Analytics property on your behalf.
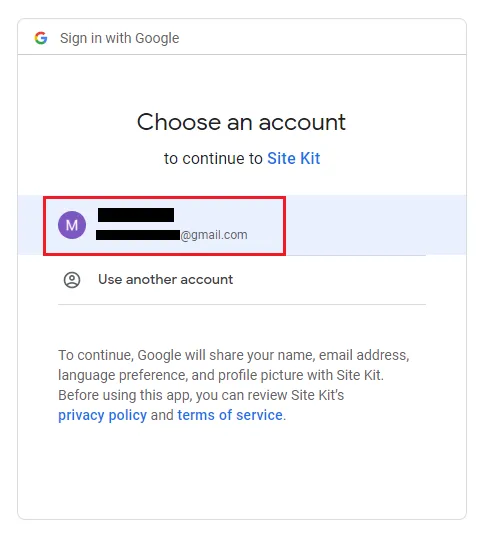
- Choose your same Gmail account again.
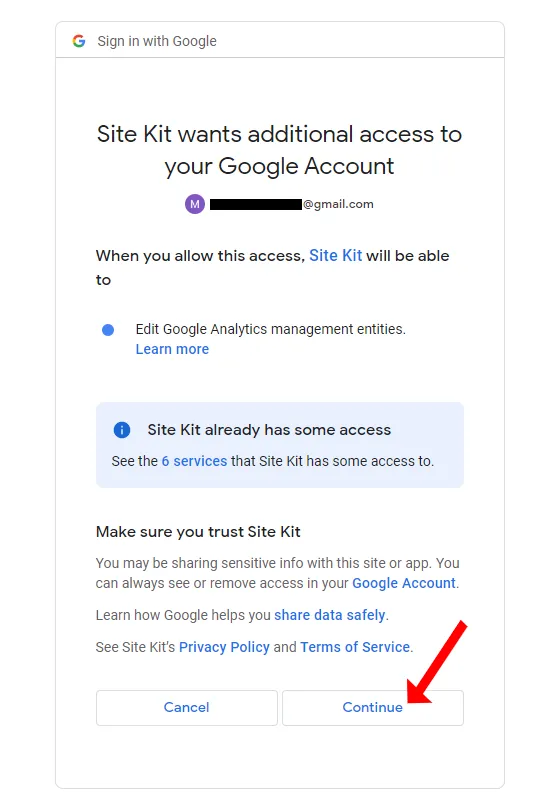
- Site Kit will again request you to give an additional access to your Google account, so that it will be able to Edit Google Analytics Management Entities.
- Click the Continue button.
- Once the setup is completed successfully, it will show you a message, “Congrats on completing the setup for Analytics!“. It will take some time to gather data from Google Analytics account and Google Search Console account.
- You can also access your Google Analytics and Google Search Console account from the Site Kit Dashboard via the links Source: Analytics, and Source: Search Console.
- The Google PageSpeed Insights results are shown at the bottom, not shown here.
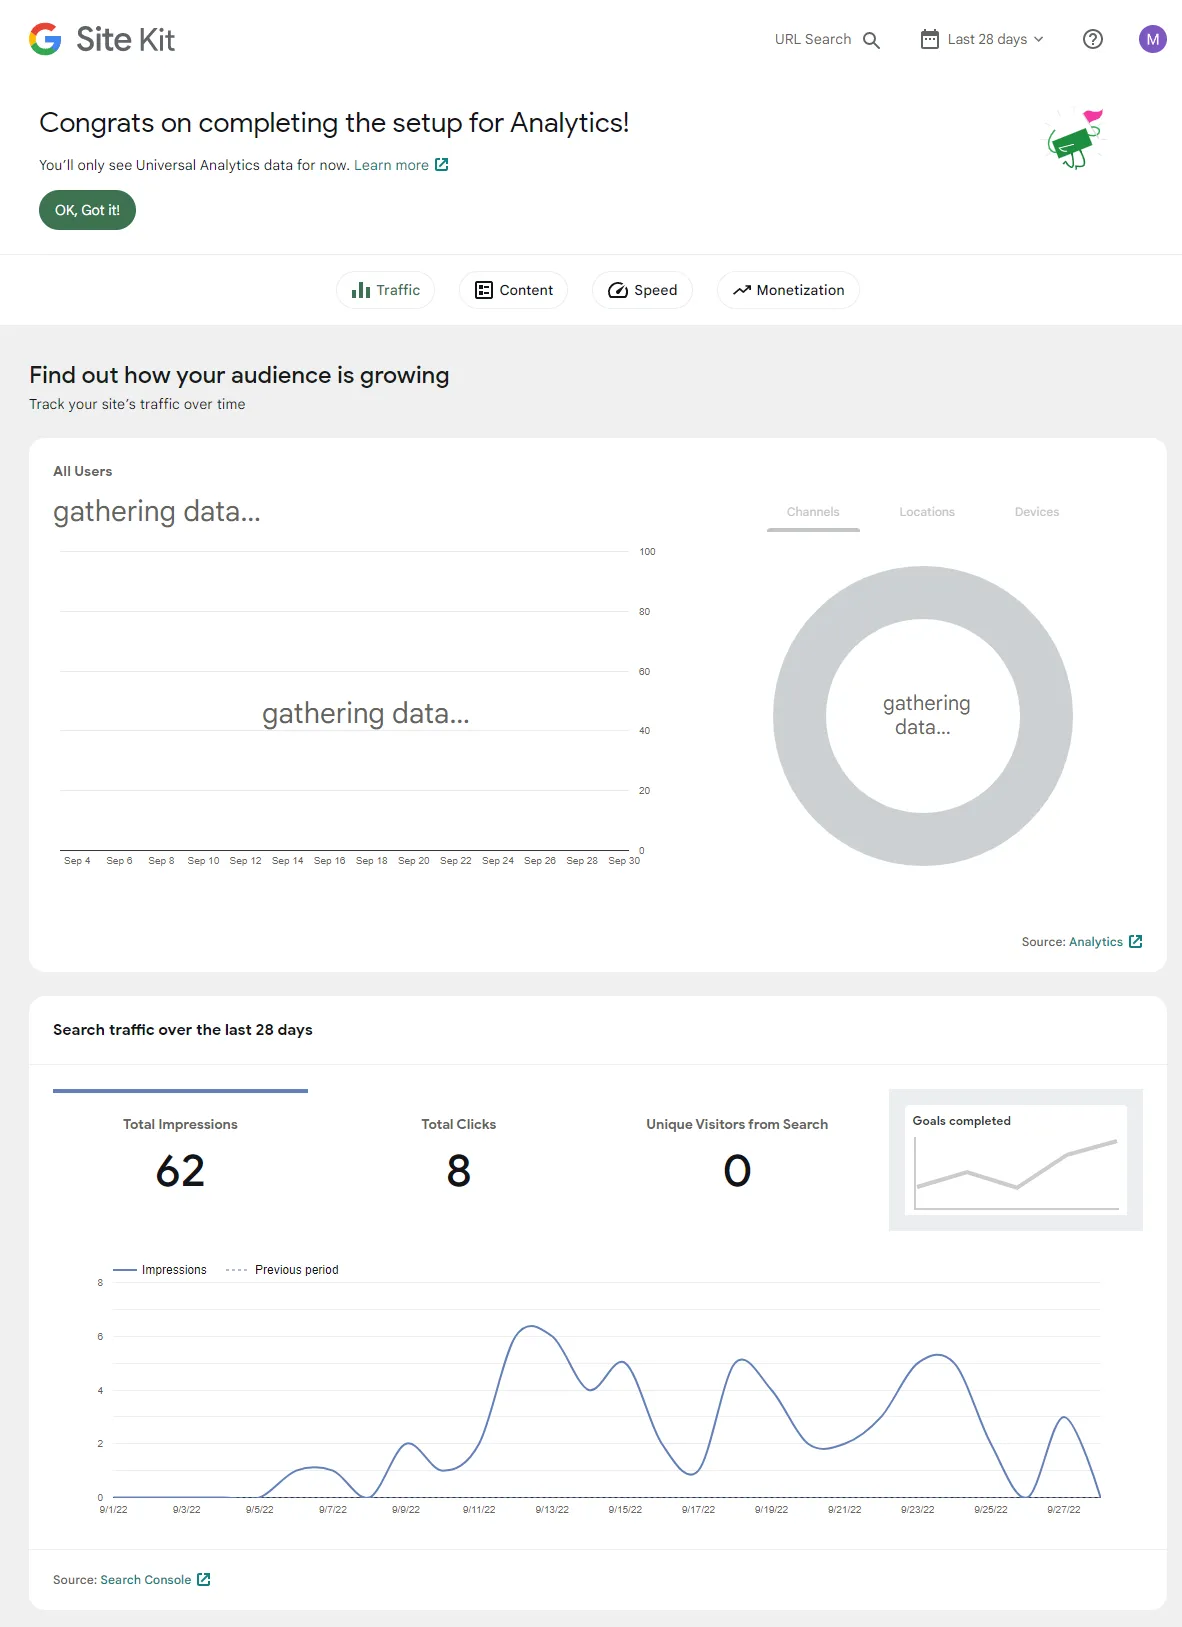
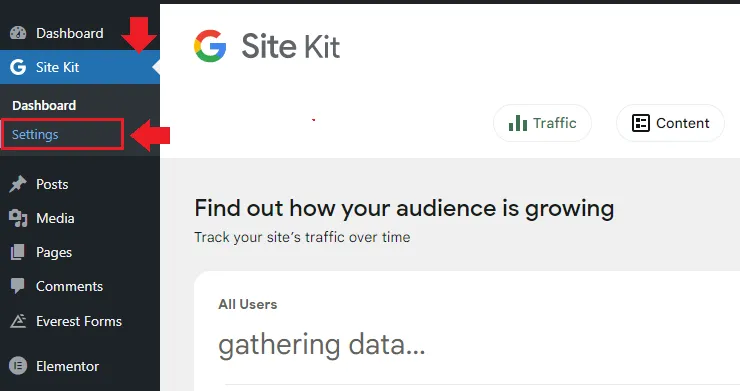
- You can access the Site Kit Dashboard from Site Kit => Dashboard.
- To access the Settings, go to Site Kit => Settings.
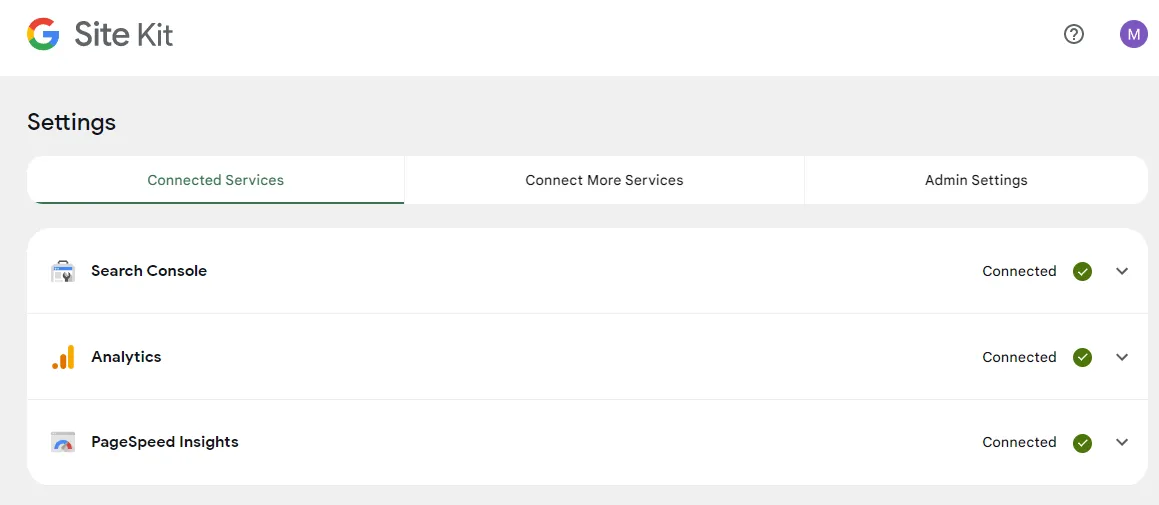
- In the Connect Services you can see that Search Console, Analytics, and PageSpeed Insights are connected.
- Click on them to expand the Edit option.
03. How To Set Up Google AdSense in Site Kit by Google
You have successfully connected Site Kit with Google Search Console & Analytics which are necessary for showing your website stats. If you want to display Google AdSense Auto Ads on your WordPress website and show AdSense stats like earnings, ad clicks, RPM, CPC, etc, on your dashboard then connect your Google AdSense account with the Site Kit.
If you don’t have a Google AdSense account and want to sign-up for AdSense then follow this tutorial:
If you already have an approved Google AdSense account and want to display AdSense Auto Ads then follow this tutorial:
So it was all about How to show Google analytics in WordPress using Site Kit by Google plugin. If you like this post then don’t forget to share with other people. Share your feedback in the comments section below.




Leave a Reply