Despite you upload favicon in WordPress, but it is not showing on browser? Don’t panic! You’re in the right place.
Though there are few other solutions, but in this tutorial we will guide you only on How to show your website favicon using a simple WordPress plugin.
The most common reason for not showing favicon is location of the favicon. Browsers unable to find the location where favicon is located. One other reason could be “activating a cache plugin” like LiteSpeed Cache.
The LiteSpeed Cache is one of the best website acceleration WordPress plugins that can take the performance of your website to the next-level.
In some cases it has been found that soon after activating the LiteSpeed Cache plugin or other plugins, the favicon of website doesn’t show or appears for a second and then disappears.
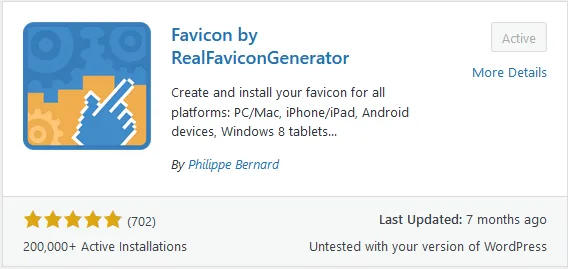
To solve this issue you can use a free WordPress plugin called Favicon by RealFaviconGenerator. It creates and installs favicon for all platforms and browsers, like Chrome, Firefox, Safari, Microsoft Edge, Windows, Mac, iPhone, iPad, Android devices, Windows 8 tablets, etc.
Looking for fast-performance professional website themes? Find Here.
RELATED
- How to Make a Free Circular, Rounded, & Square Favicon Online
- How to Show Last Updated Date on WordPress Posts
- Solved: Favicon Doesn’t Appear On Bing Search Results
01. Install & Activate The Favicon Plugin
In this section, I will guide you on how to install and activate the Favicon Plugin.
- Go to Plugins from your WordPress Dashboard’s sidebar.
- Click Add New.
- In the Search Plugins bar enter Favicon by RealFaviconGenerator.
- Click Install.
- Once it is installed click Activate.
02. How To Generate & Install Favicon
Since you have installed the Favicon by RealFaviconGenerator plugin now it is time to learn about how to generate and install favicon for your WordPress website.
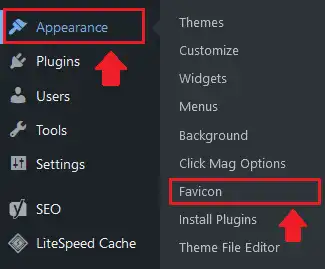
- To access the Favicon by RealFaviconGenerator go to Appearance and click the Favicon.
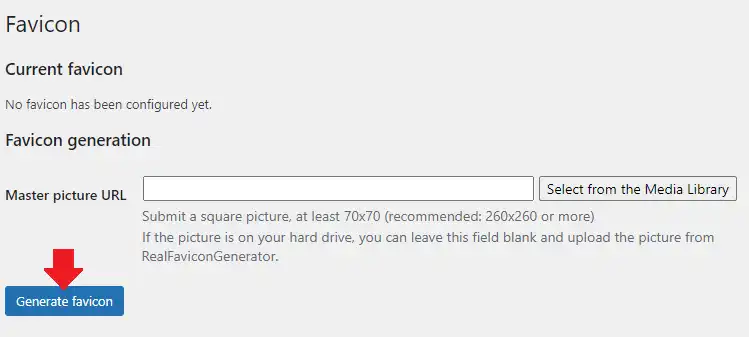
- You must have a favicon of at least 260 X 260 pixels. The favicon can be in any image format like PNG, JPEG, SVG, etc.
- Click on the Generate favicon button to begin the process.
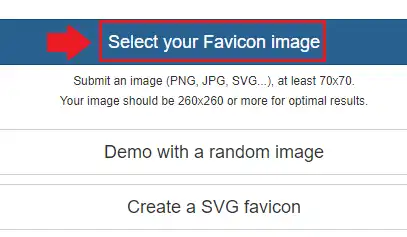
- Click on the Select your Favicon image and Upload the favicon image from your computer.
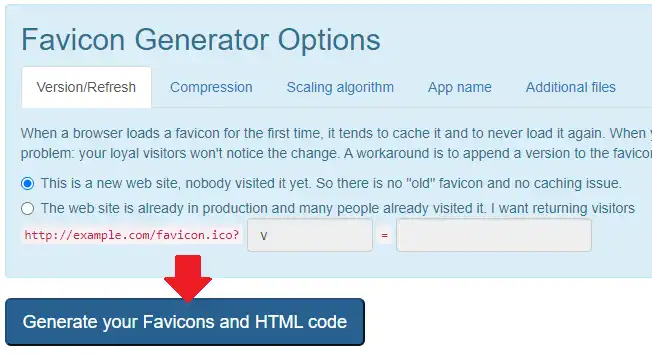
- Once you upload the favicon scroll-down to bottom section “Favicon Generator Options“, as shown in the next step.
- Click on the “Generate your Favicons and HTML code” button. It will automatically generate and install favicon to your website.
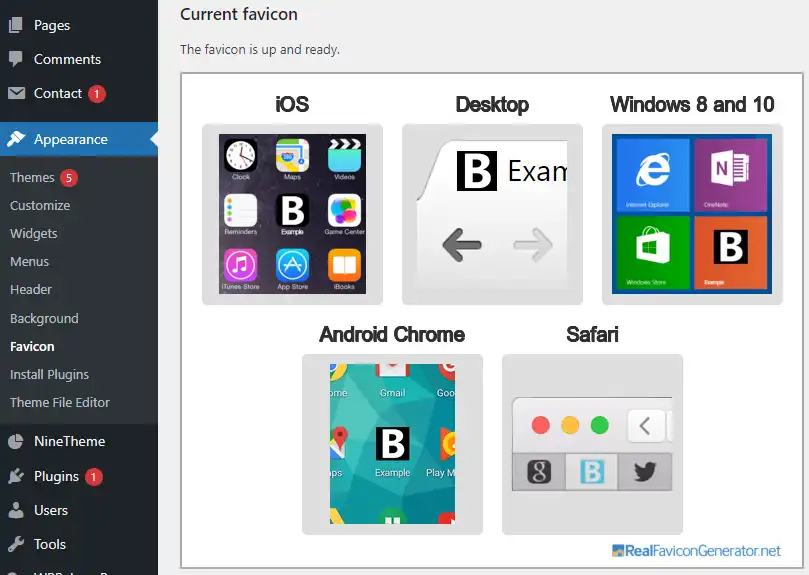
- Once it generates your favicons you will be redirected to your WordPress dashboard where you can see preview of favicon for different devices and operating systems.
- Now open your website on different browsers and check whether favicon appears or not. Don’t forget to refresh your website.
So it was all about showing your favicon on different browsers. If you like this post then don’t forget to share with the other people. Share your feedback in the comments section below.
Also Read
- How To Stop Spam Comments In WordPress With reCaptcha
- Should We Use Nofollow & Sponsored With Affiliate Links?
- Solved: Yoast Meta Description Of Homepage Not Showing In Google
- How to Stop Spam Bot Comments in WordPress
- Find Runtime Score of Core Web Vitals Metrics (LCP, CLS)
- How to Show Last Updated Date on WordPress Posts




Leave a Reply