Do you want to restore a Tumblr post from backup, but don’t know how to do? You’re in the right place.
Tumblr allows you to take the complete backup of your blog content, but it doesn’t provide you the option to restore it. So what to do, if there is no option? There is a solution! You can manually restore a blog post from backup, as I will guide you in this tutorial.
Before you go through this tutorial, read this post to understand the Tumblr Text Editor.
How to Restore a Tumblr Blog Post from Backup
In this section, I will guide you step-by-step on how you can manually restore a Tumblr blog post from backup.
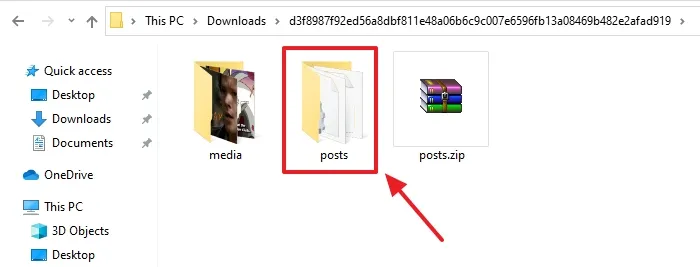
- Go to backup folder and open the sub-folder posts.
- Open the html folder. It contains all your Tumblr blog posts.
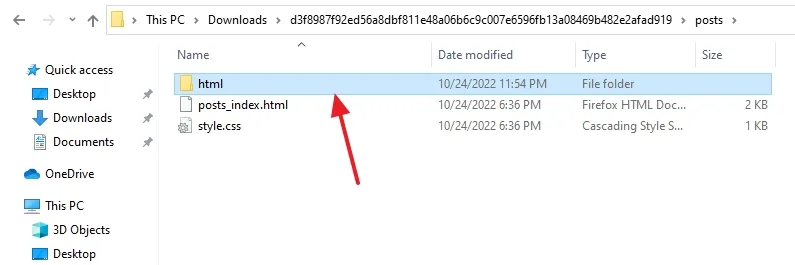
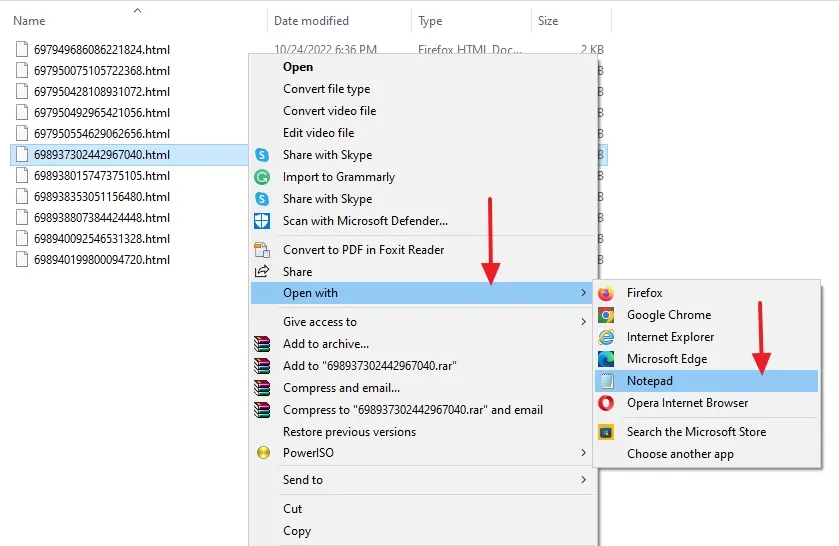
Instead of titles, the Tumblr posts in backup are saved with their unique post numbers. If there are lot of posts, it may take some time to find your desired post. You can also open a post on the browser to preview.
- Right-click on the post (.html file) that you want to restore and go to Open with.
- Click on the Notepad.
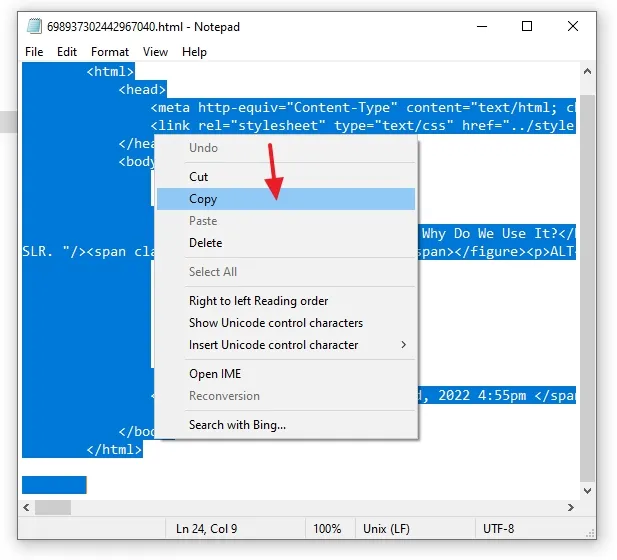
- Press Ctrl + A to completely select the HTML code of the post.
- Click the Copy option to copy the HTML code. You can also copy the code from File menu.
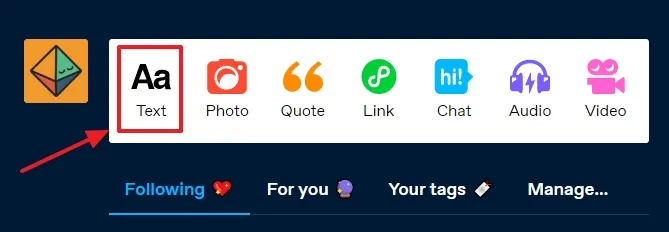
- Now go to Tumblr Dashboard and click the Aa Text to open the Text Editor. The Aa Text supports all types of Tumblr posts i.e. Photo, Quotes, Link, Chat, Audio, or Video.
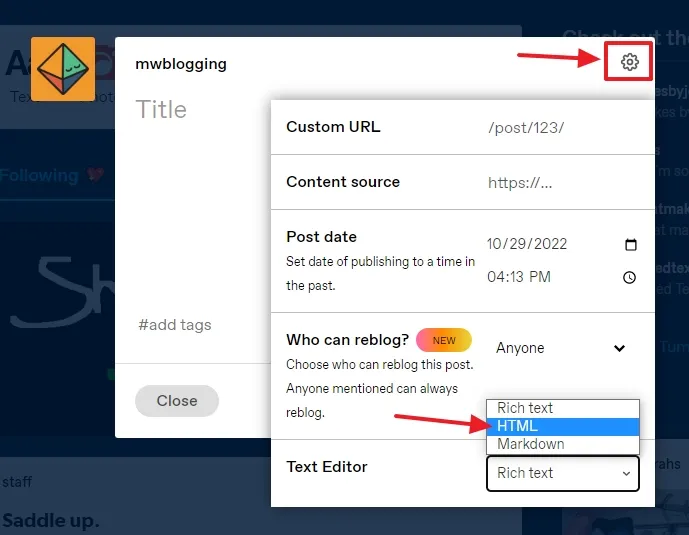
- Click on the Settings icon, located at your top-right corner.
- Scroll-down to Text Editor section and select HTML.
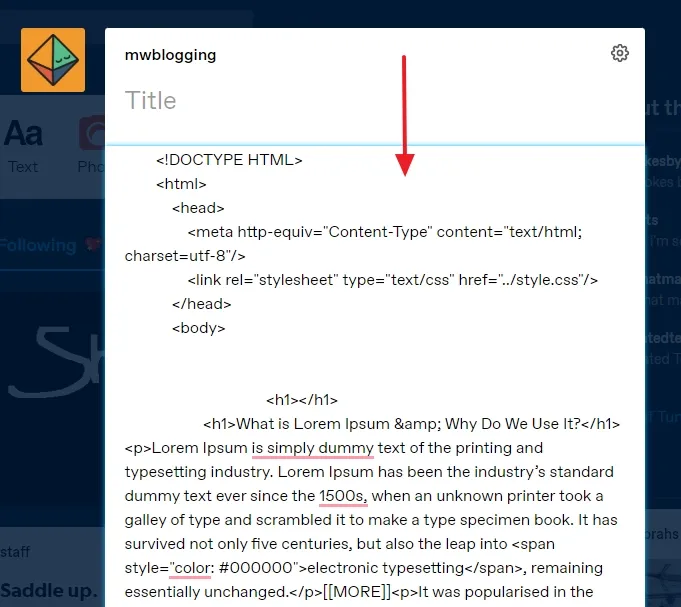
- Paste the HTML code of the Tumblr post that you have copied.
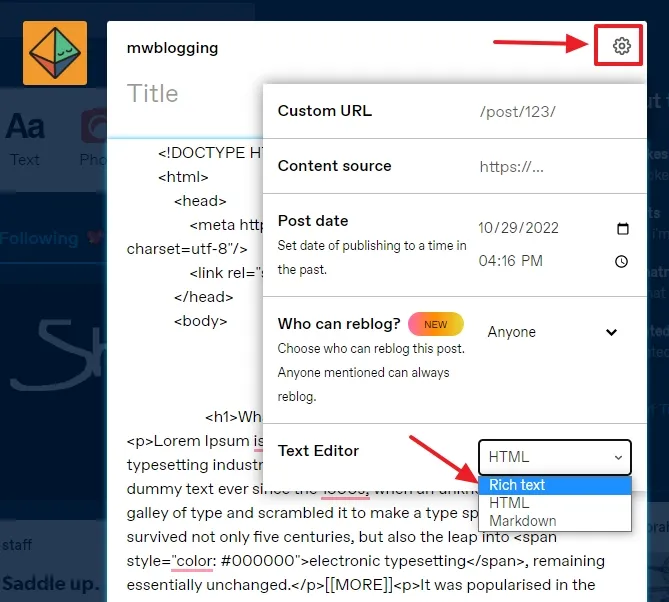
- Click the Settings icon again and scroll-down to Text Editor section.
- Select the Rich text option.
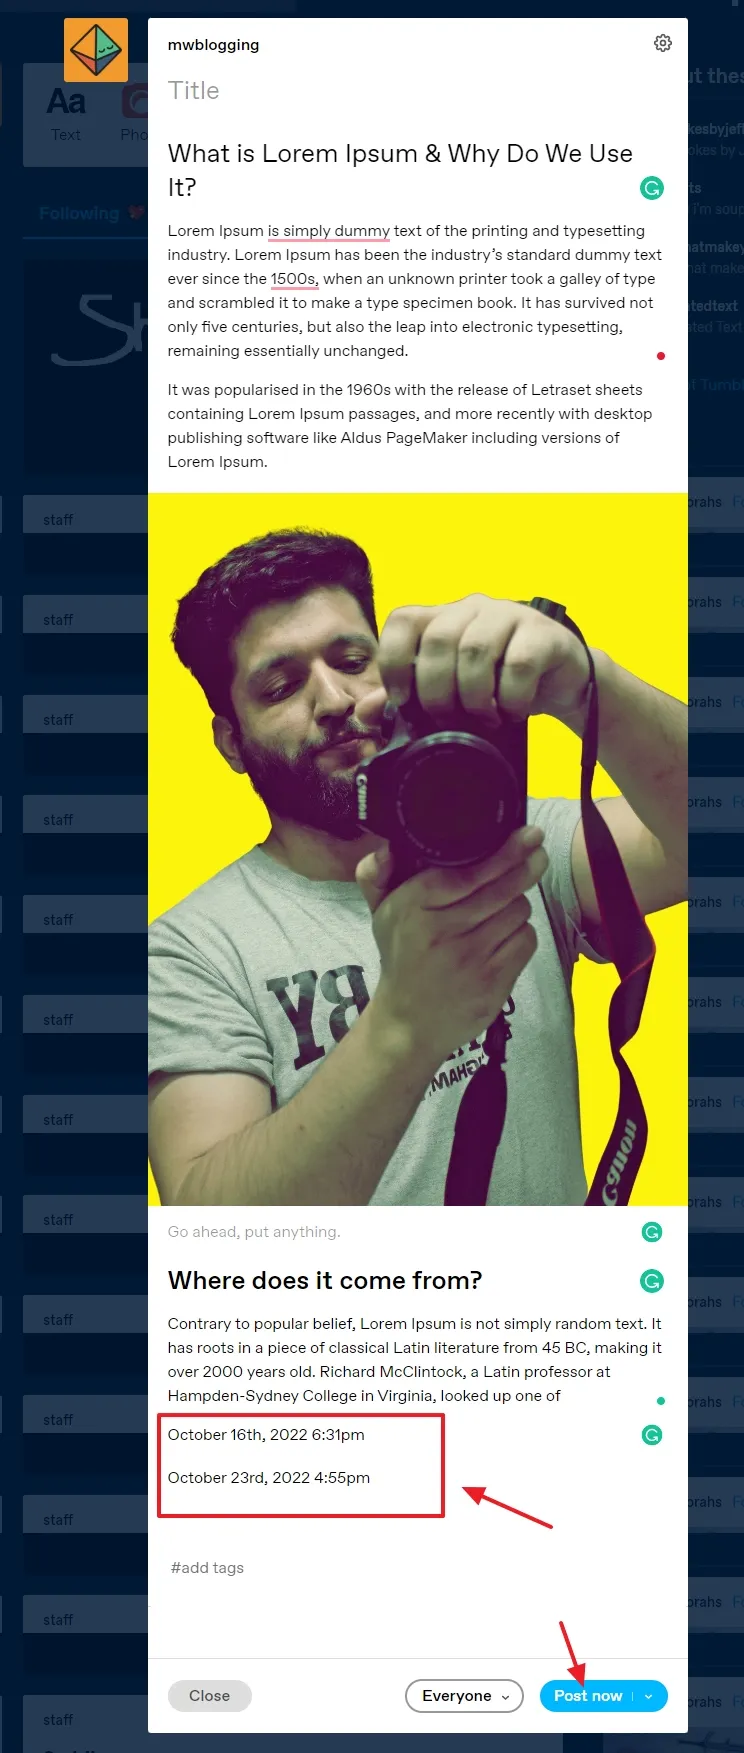
- The post content is loaded in the Rich Text Editor. Leave the Title empty because it is already present in the post. If you want to add the Title then remove the Title from the post otherwise there will be a repetition.
- You can Add/Edit/Delete/Fix content in the post.
- Remove the Timestamp (Data & Time) from bottom of the post. The first Timestamp represents the post’s published date & time. If there is more than one Timestamp, that means they are representing post’s modified data and time.
- Click the Post now button to publish the post.
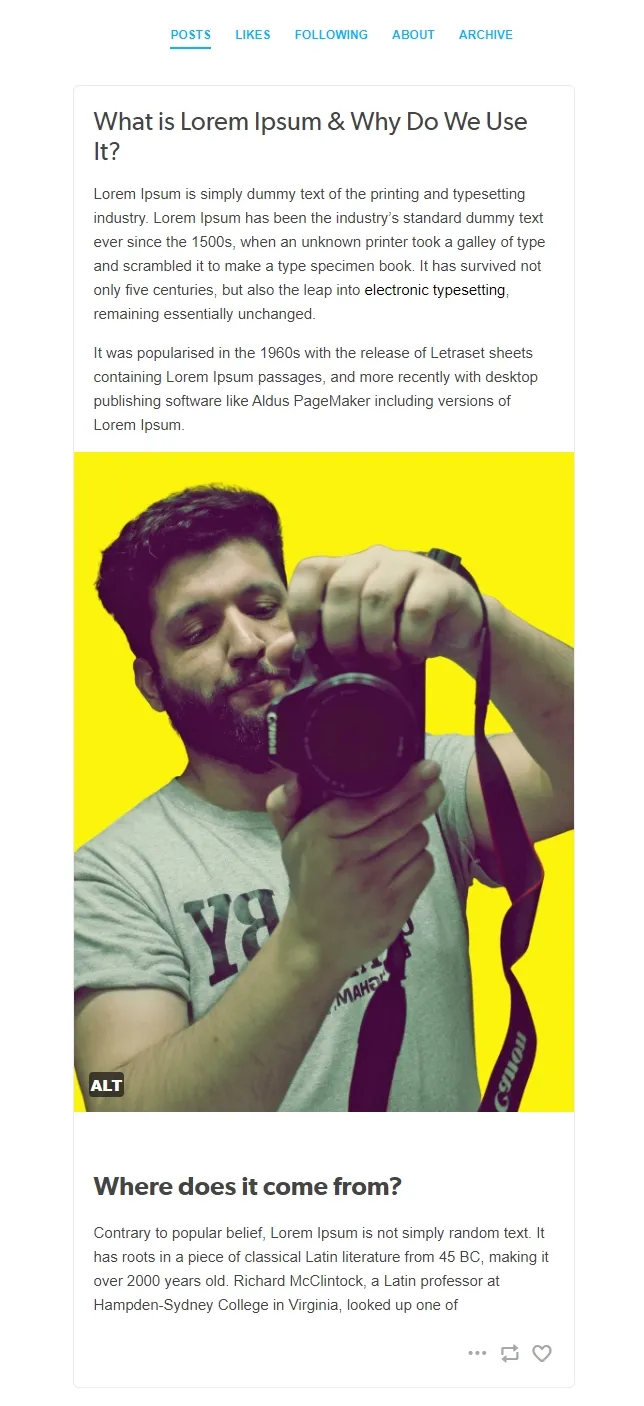
- Here you can see that the Tumblr post is restored and published. In the same way, you can restore as many posts as you want.
If you like this post then don’t forget to share with other people. Share your feedback in the comments section below.


Leave a Reply