Are you getting the error, “403 Forbidden, Access to this resource on the server is denied“, while updating a plugin settings in WordPress, or for some other reason? You’re in the right place.
In this tutorial, I will guide you on Why “403 Forbidden, Access to this resource on the server is denied“ error occurs, and How to solve this error.
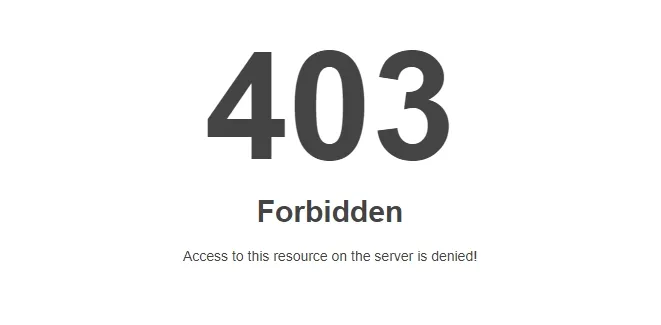
This is the screenshot of the 403 Forbidden error that occurred when I clicked Save Changes after customizing Page Optimization settings of LiteSpeed Cache plugin.
Why 403 Forbidden Error Occurs?
The “403 Forbidden, Access to this resource on the server is denied“ error occurs because of your IP address that triggers the ModSecurity security service of your web hosting server (shared server).
ModSecurity is an Apache module which works as a web application firewall. It blocks known exploits and provides protection from a range of attacks against web applications. The ModSecurity comes with a Core Set Rules which has various rules for Cross Website Scripting, Bad User Agents, SQL Injection, Trojans, Session Hijacking, and other exploits.
Though ModSecurity protects your website and server by filtering the website data, but sometimes, it may incorrectly determine that a certain request is malicious, while it is actually legitimate. As a result, you get errors like 403 Forbidden, for no reason.
How to Solve 403 Forbidden Error?
There are two ways to get rid of 403 Forbidden error (1) Disable the ModSecurity for Your Domain (2) Whitelist the Triggered Rule.
01. Disable the ModSecurity for Your Domain
You can remove this error by completely disabling the ModSecurity for your domain, but it is not recommended. It may open your website and server to internet vulnerabilities and exploits.
But yes, you can disable ModSecurity for a while just to make sure that it is causing the 403 Forbidden error.
How to Disable ModSecurity on cPanel?
- Login to your cPanel account.
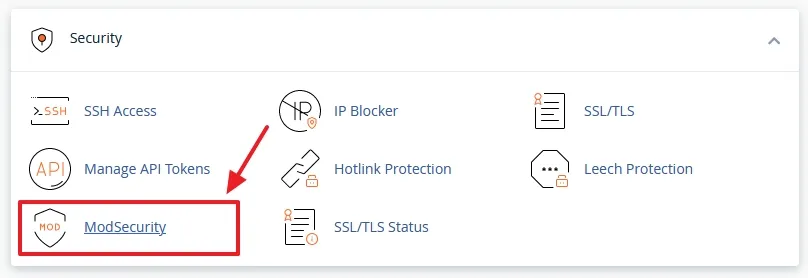
- Scroll-down to Security section, and click the ModSecurity.
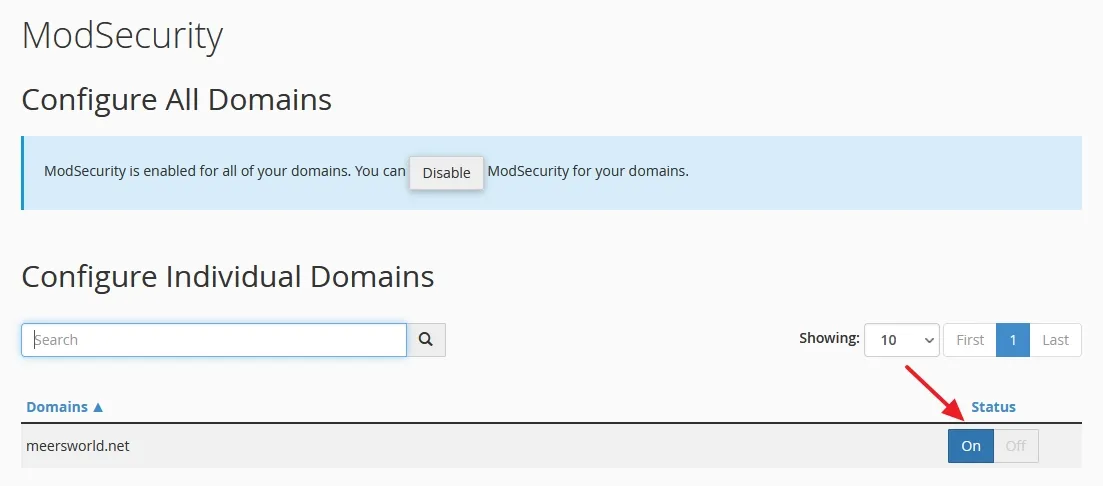
- Turn-off the ModSecurity for your domain.
02. Whitelist the Triggered Rule (Recommended)
Instead of disabling ModSecurity completely, it is possible to whitelist the single rules that were triggered, to bypass the block.
How to Whitelist the Triggered Rules?
Though there are different ways to whitelist the triggered rules, like Using Configuration File, Modsec Manager, Using WHM, Using .Htaccess file, but you may need permissions and some technical knowledge related to servers & scripts to perform them.
The recommended way to whitelist the triggered rule is by contacting your web hosting support. Contact them via Live Chat and tell them about the error. They will probe the error and whitelist only those rules which are causing the error.
This is the response that I received from my web hosting support:
It appears that your IP address has triggered our ModSecurity security service. I have whitelisted the triggered rule. Please try performing the same actions now.
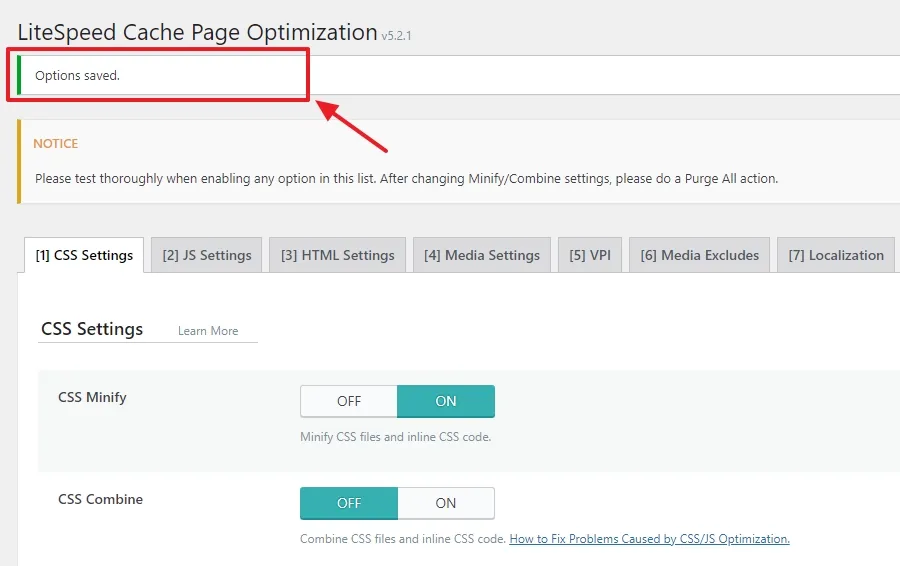
You can see below that the LiteSpeed Cache’s Page Optimization settings are saved successfully after the triggered rules were whitelisted.
I hope that this solution would have helped you to solve the 403 Forbidden error. If you like this post then don’t forget to share with other people. Share your feedback in the comments section below.

Also Read
- Fixed: Update Failed Could Not Update Post in the Database
- Solved: Favicon Not Showing On Browser | WordPress
- How To Fix Missing A Temporary Folder Error In WordPress
- How to Enable Optional Module Imagick on cPanel | WordPress
- How to Enable Persistent Object Cache on WordPress
- Fixed: Updating failed. The response is not a valid JSON response
- Rest API did not Behave Correctly | Fix WordPress Block Editor



Leave a Reply